Project 1
Otolith Sound
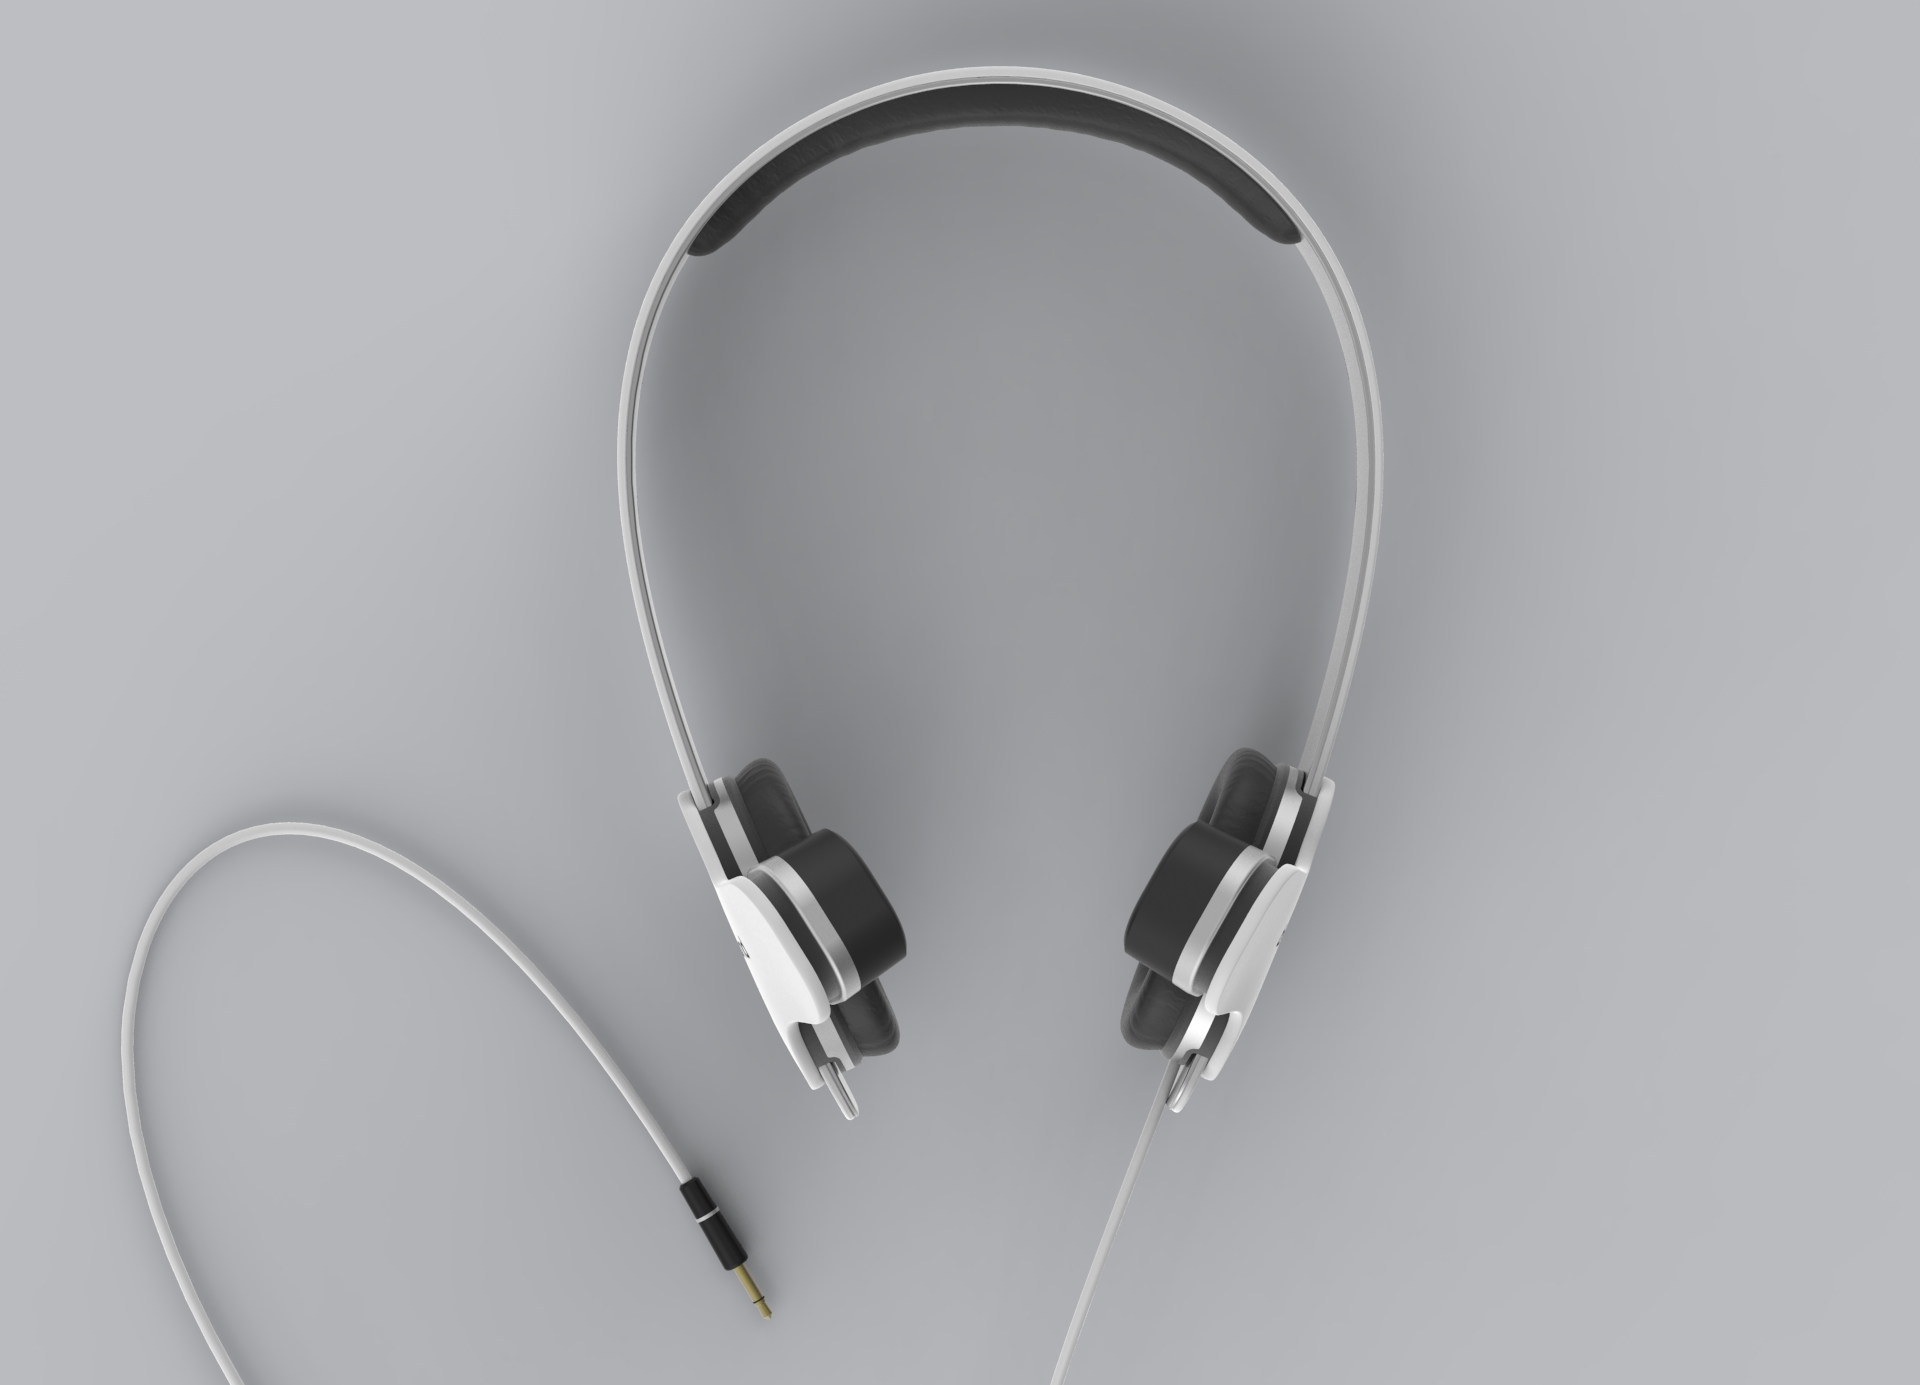
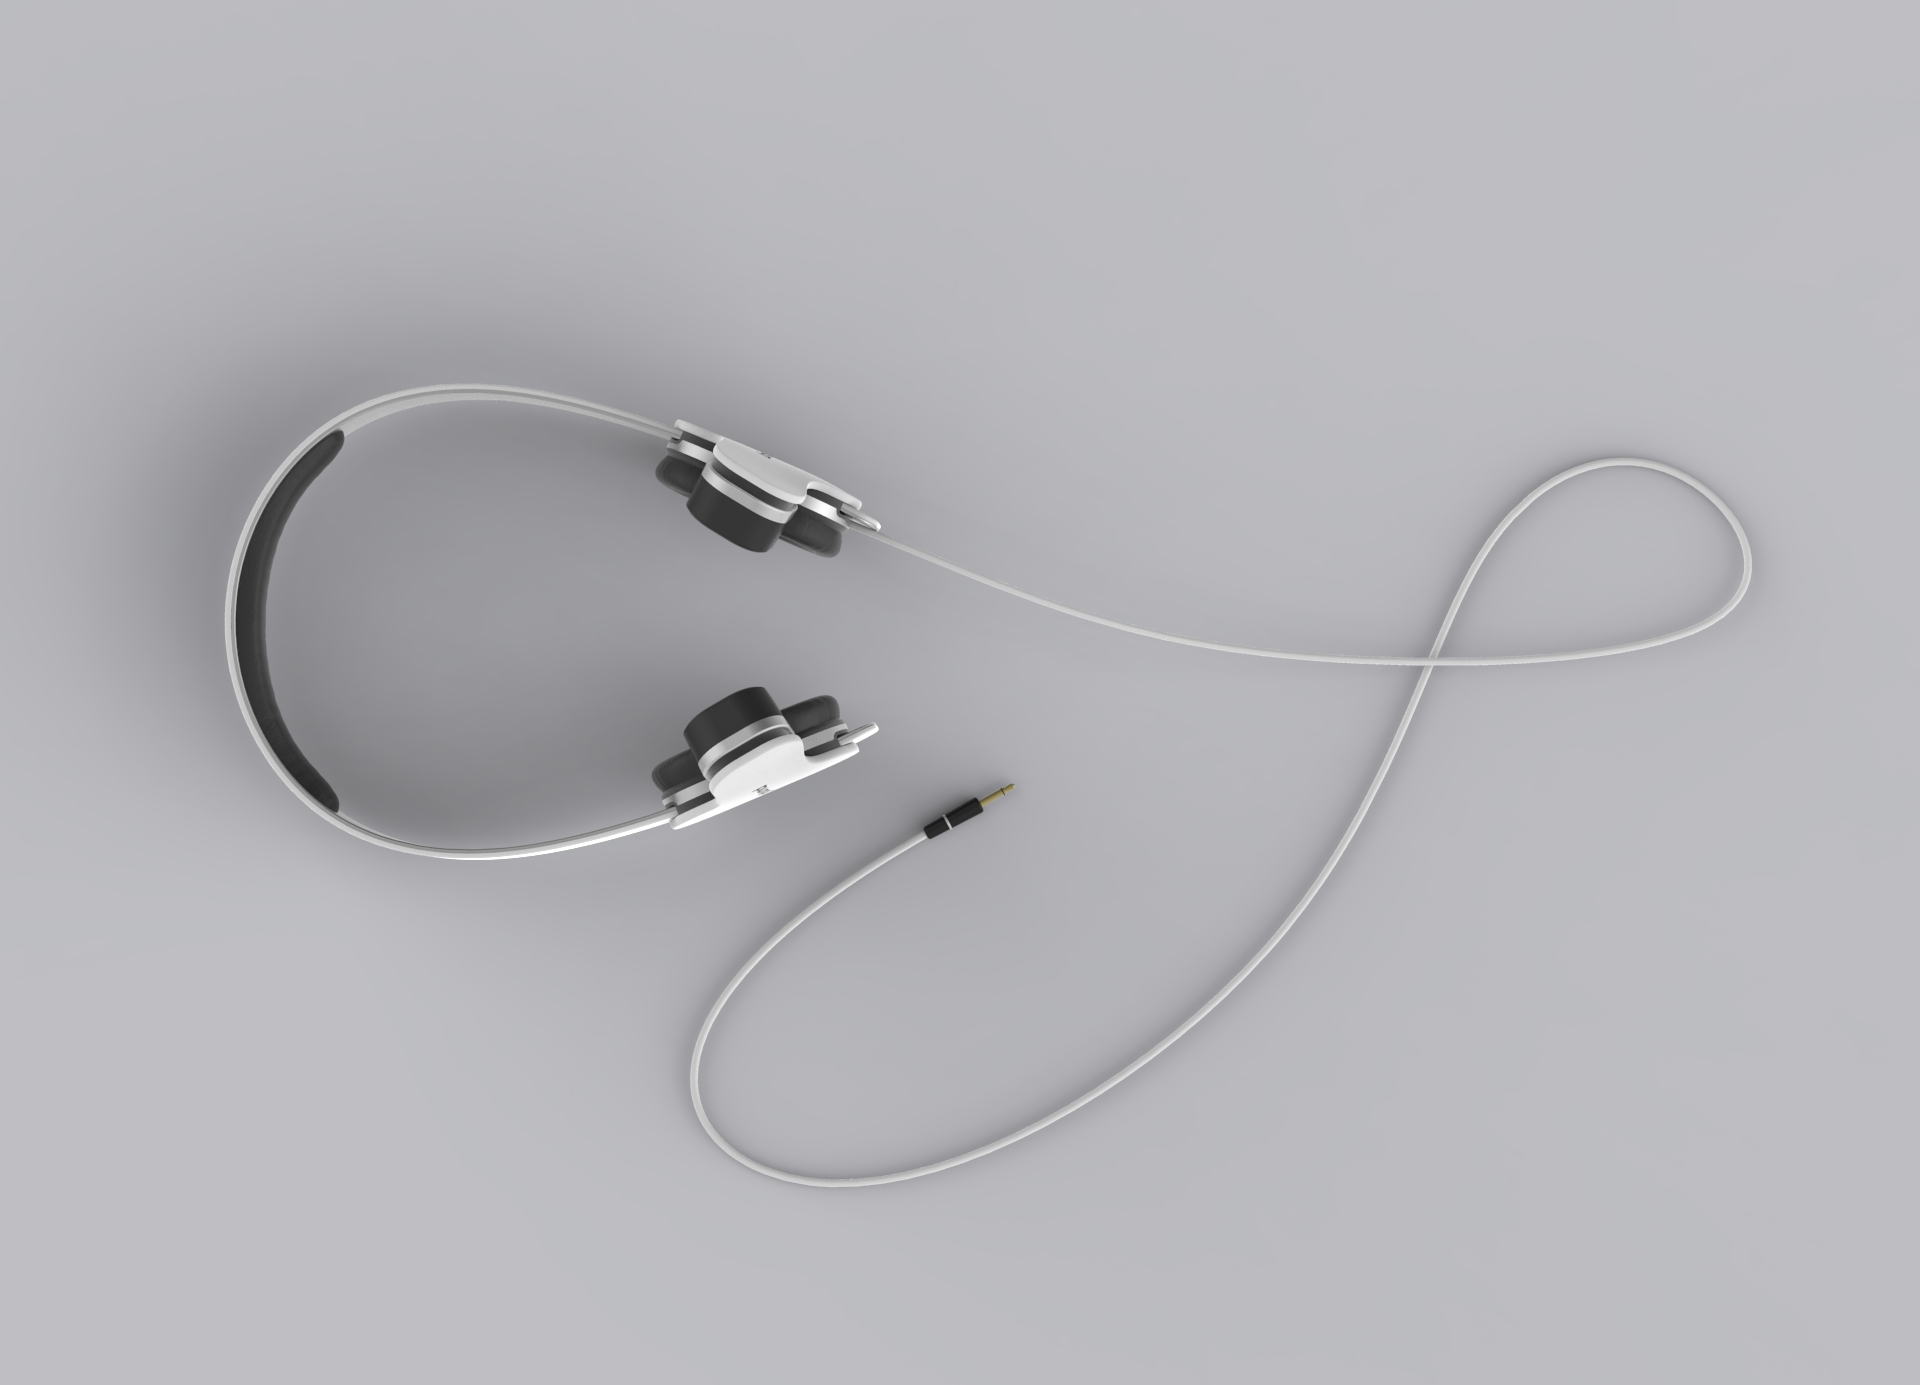
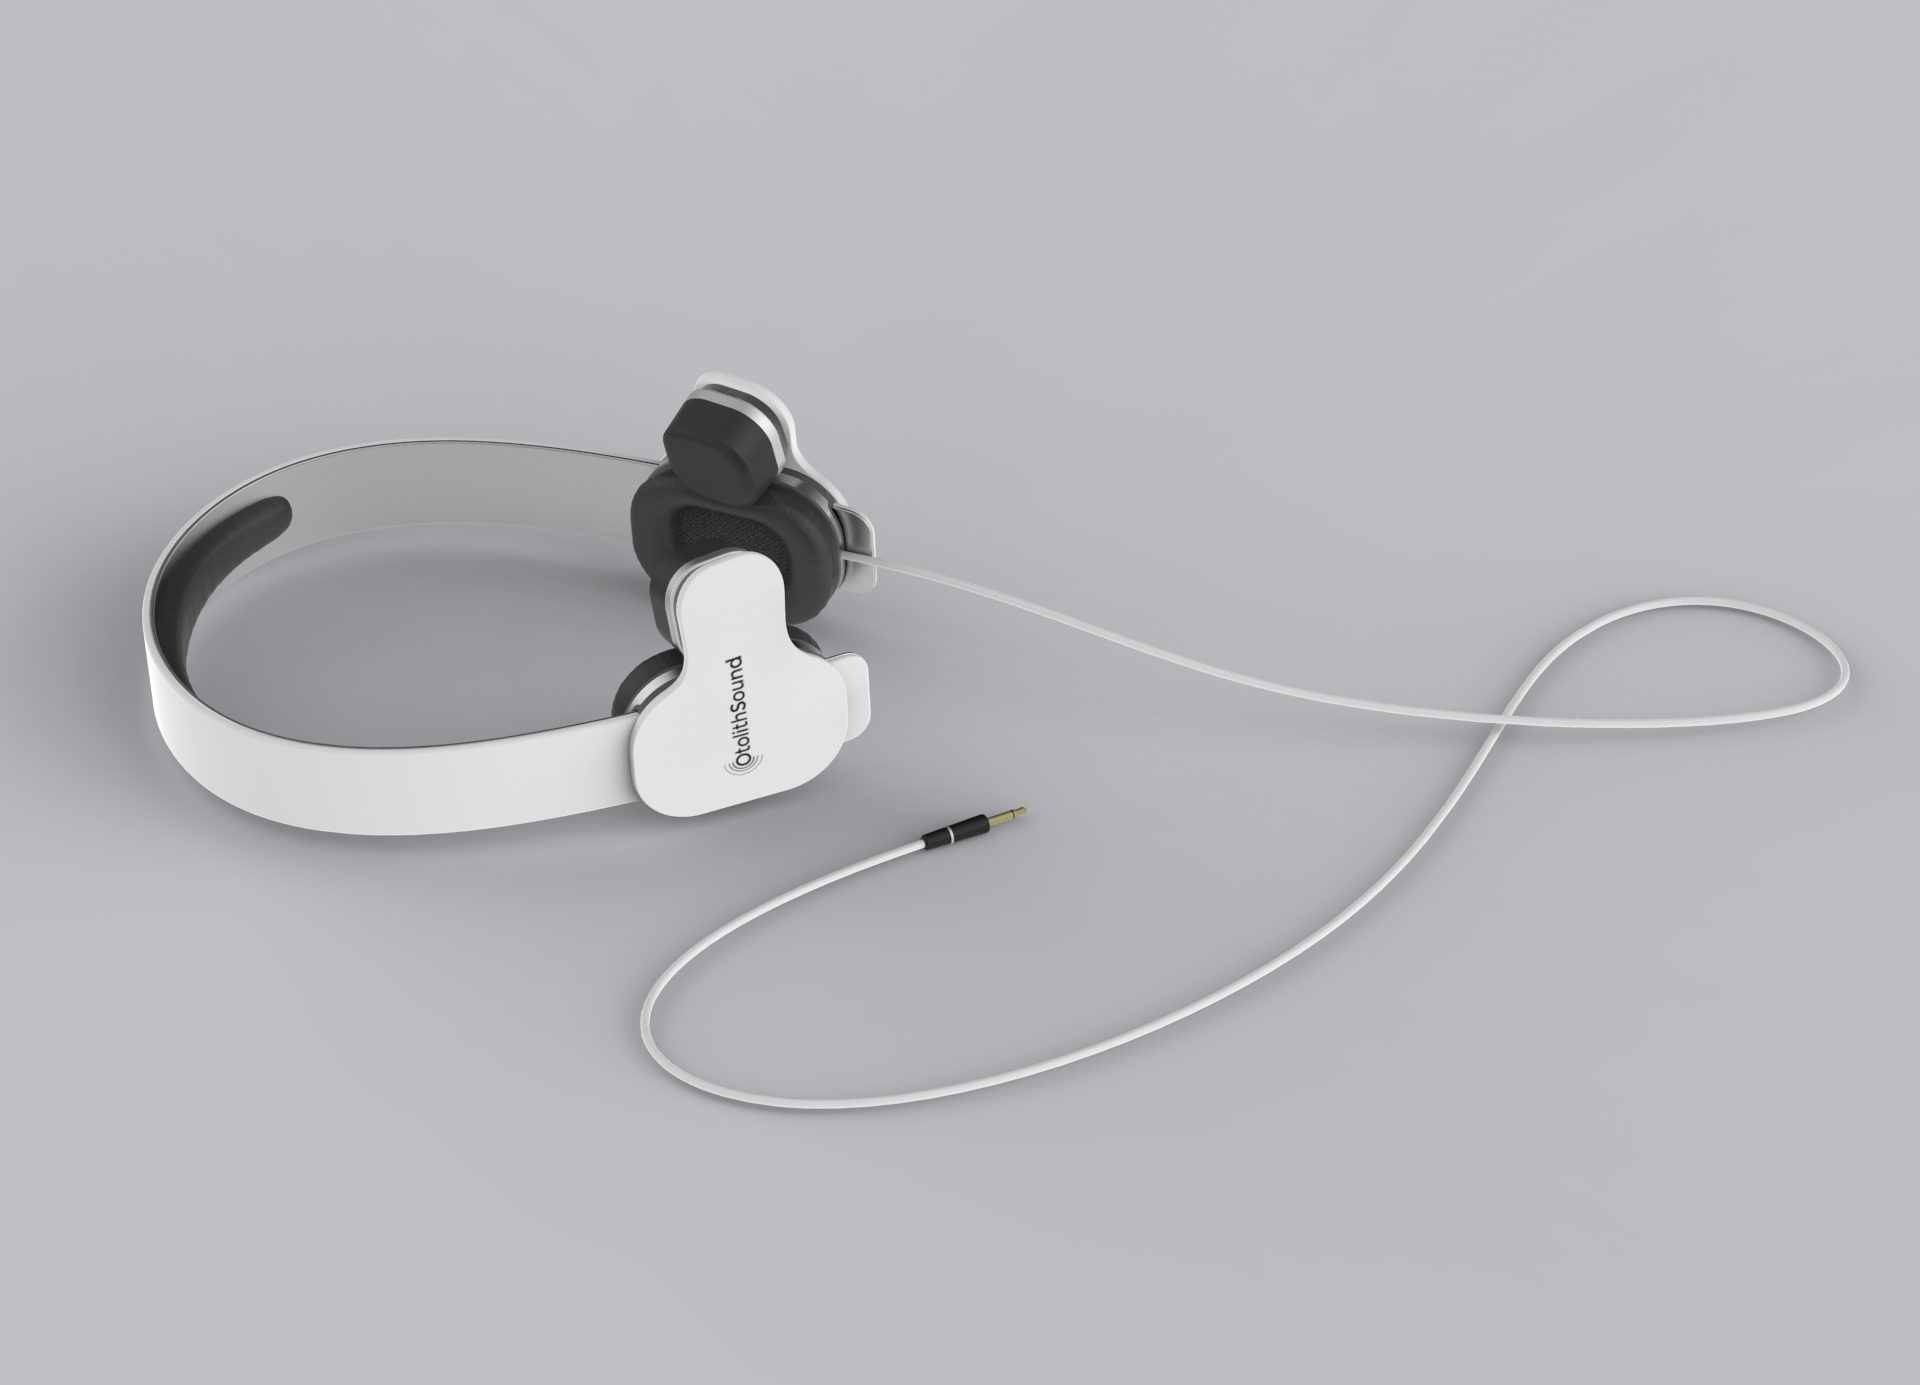
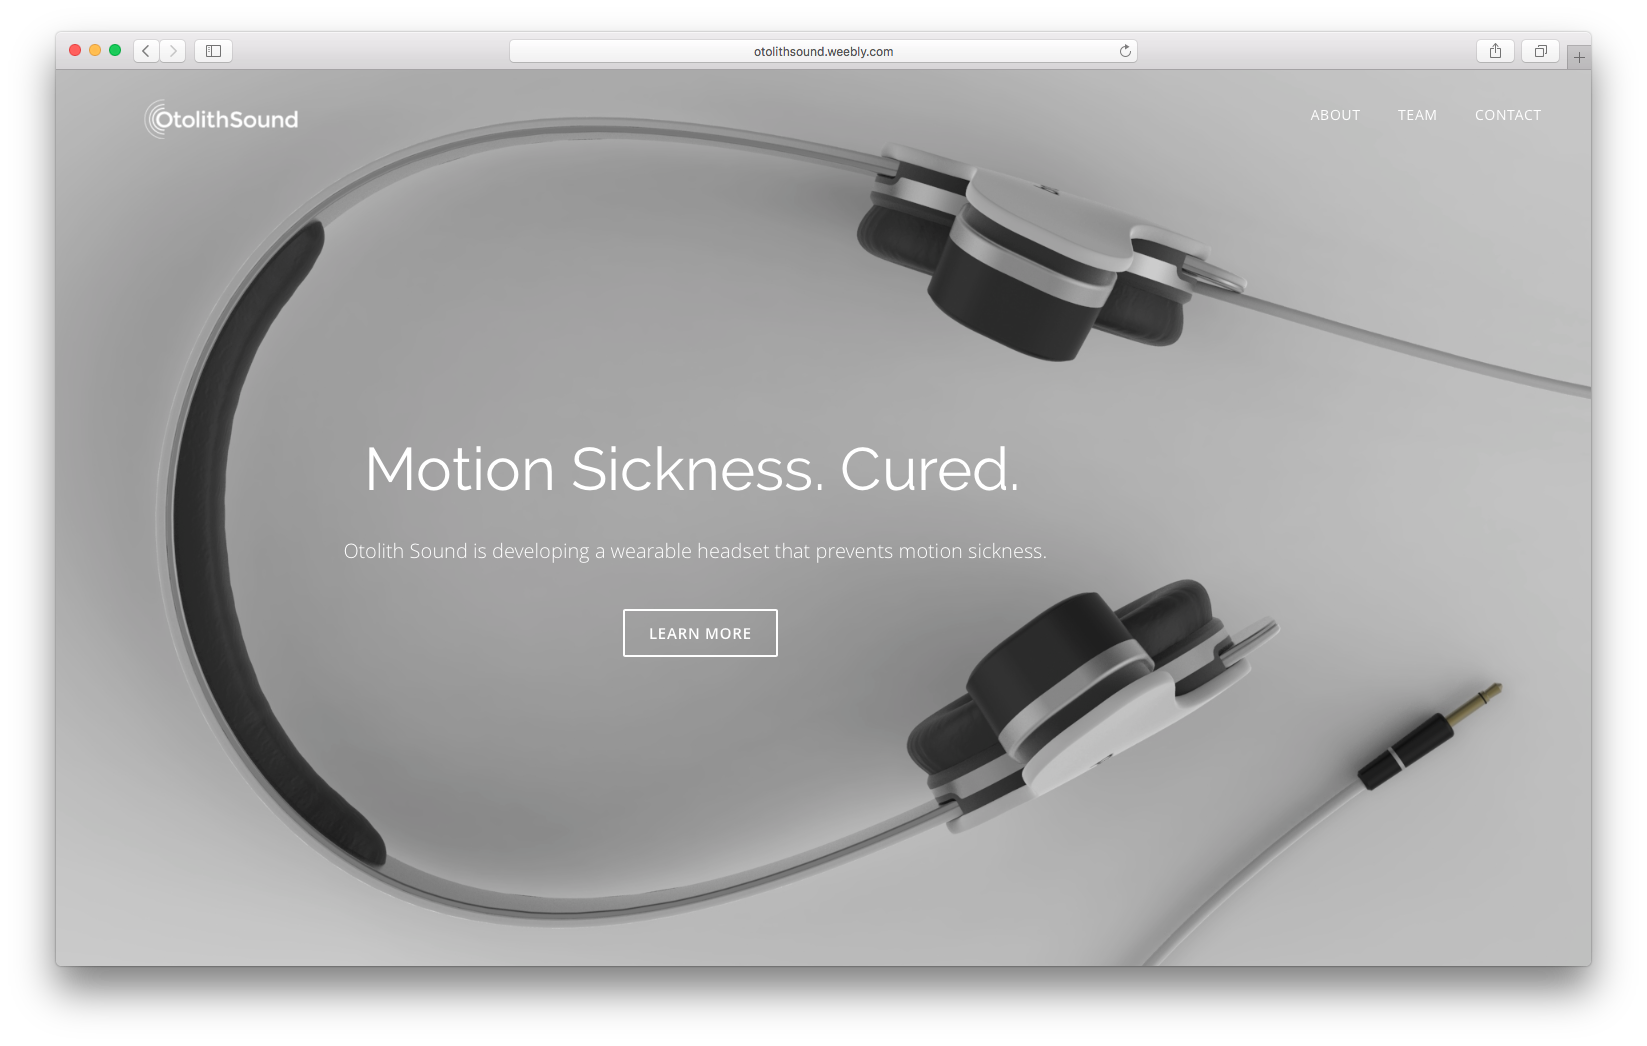
I completed this work as a freelancer for Otolith Sound, a Washington, DC based startup that has developed a patent pending hardware solution to motion sickness. My role was to develop a preliminary works like model as a validation for the technology, as well as conceptual drawings and renderings to visualize what the product could look like in the future. The key technology is a small transducer that sits on top of the mastoid bone, which was the main design consideration
The design direction I chose was to incorporate the technology into a standard, over-the-ear pair of headphones. The technology fits in behind the ear, and is powered by a standard headphone jack.
View the work on otolithsound.com

Design Process
As the designer on this project, I worked closely with a small team of front and back-end developers, copywriters, and marketing and healthcare experts to create the site over the course of about 6 weeks.
A mixture between a marketing site and a tool, it was important to strike a balance between creating something that immediately captures a user’s attention, and something that is is functional and useable.


Project 2
Cast Salt and Pepper Mills
This project was completed for a class on investment casting. As part of the project, we were required to design and prototype an object that makes use of the investment casting process. The class took me through the entire design process, beginning with market research, initial ideation, model making, and then on to prototyping and branding, before finally presenting my design.
Process
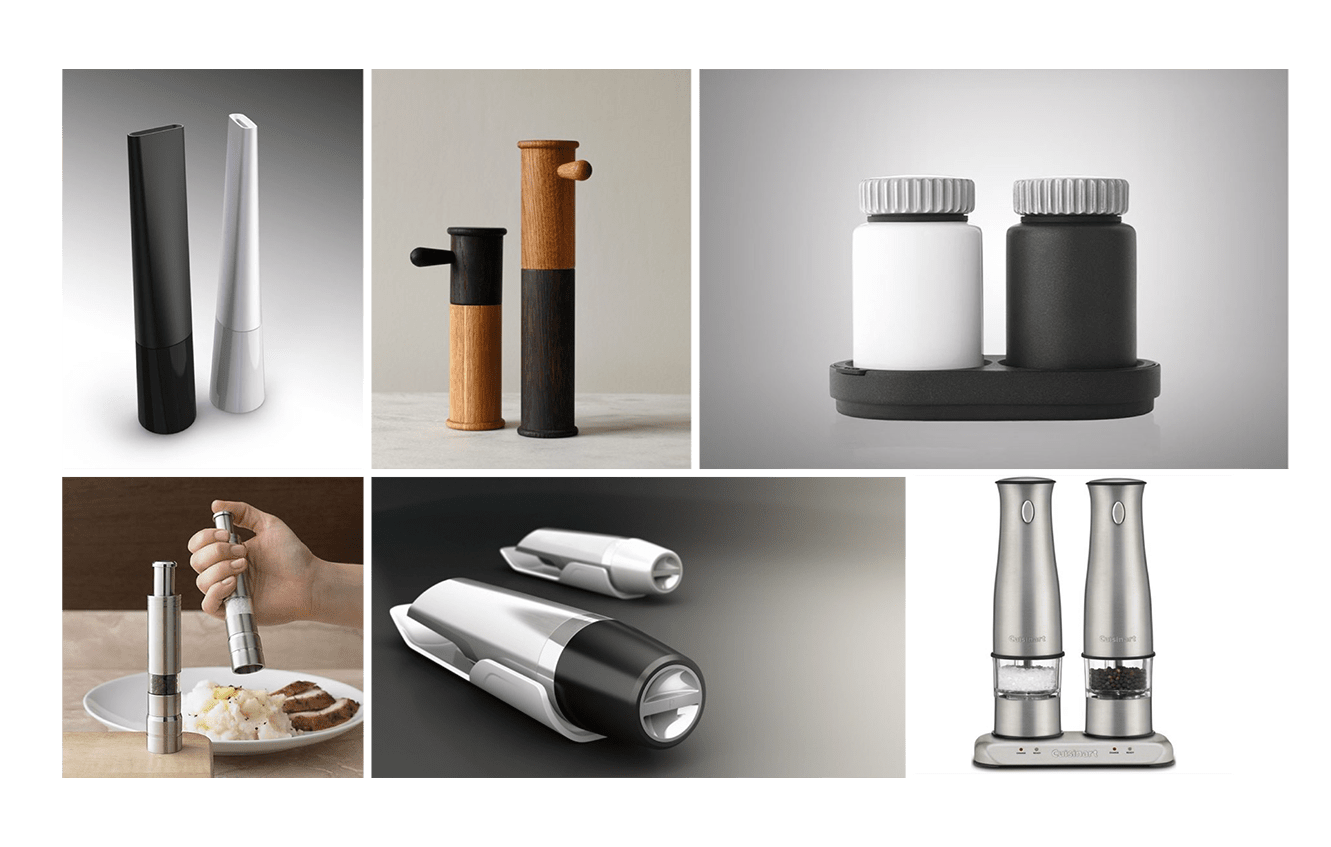
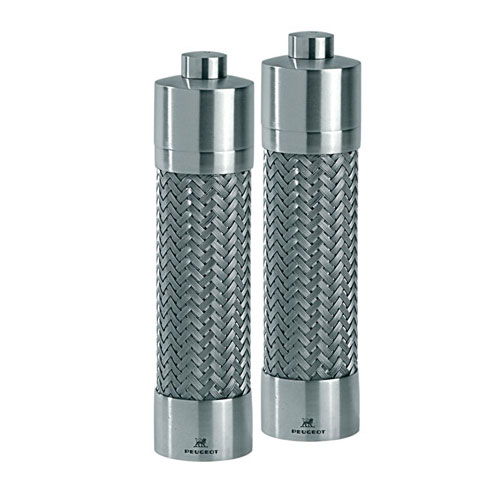
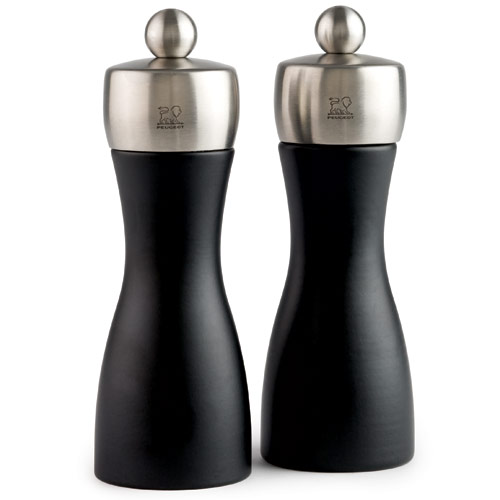
Inspiration and Market Research
The process began with thorough research into existing products on the market. What makes some products successful and others unsuccessful? I read numerous consumer reviews of different pepper grinders on the market to get a sense of what users want.
Process
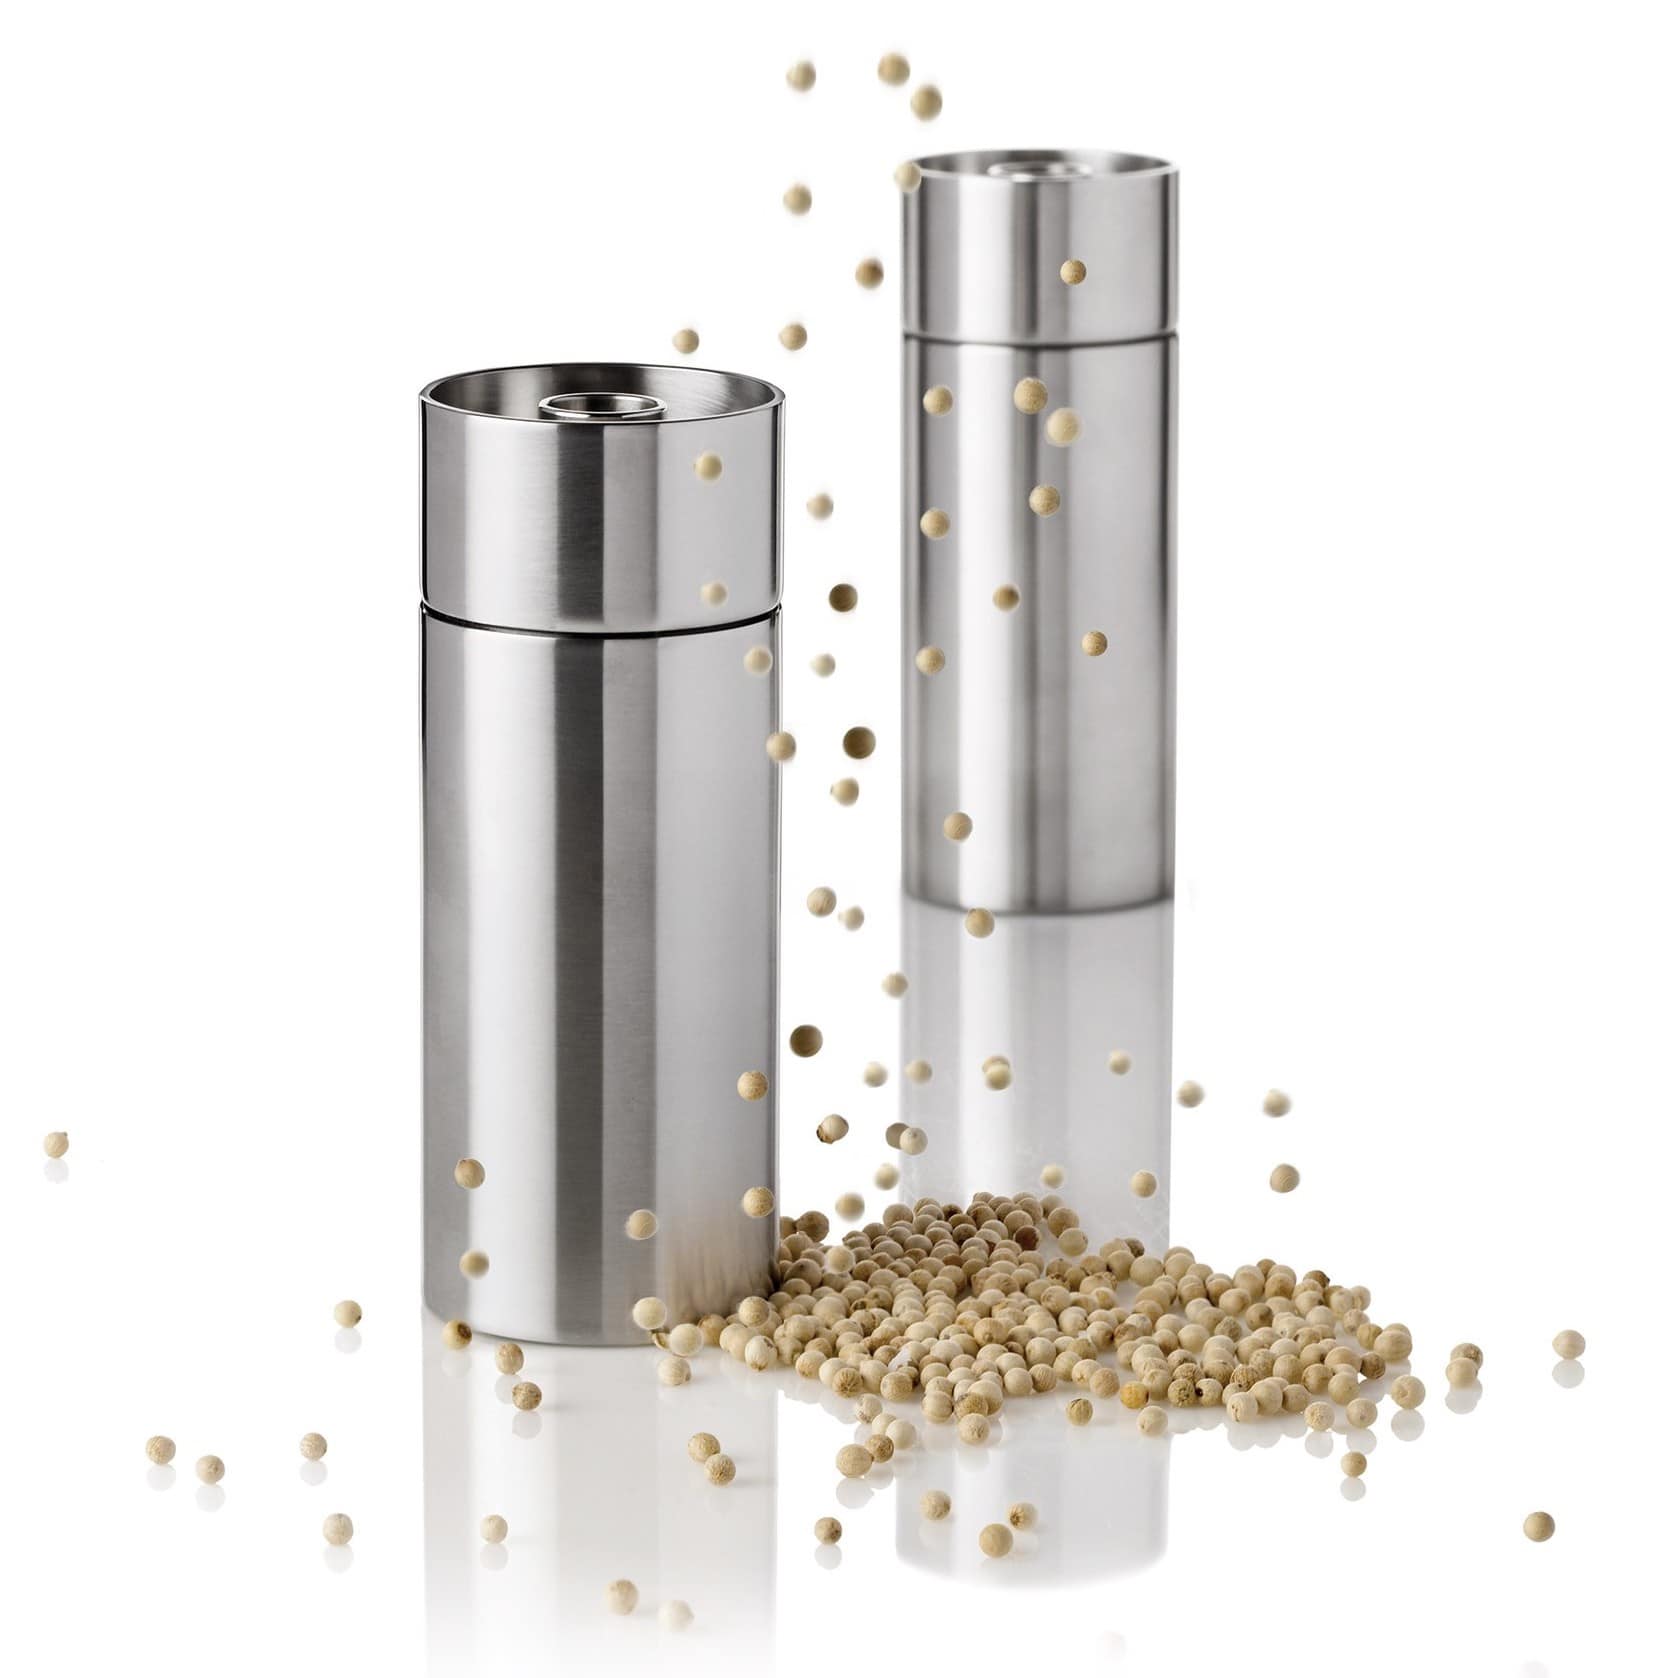
Insights
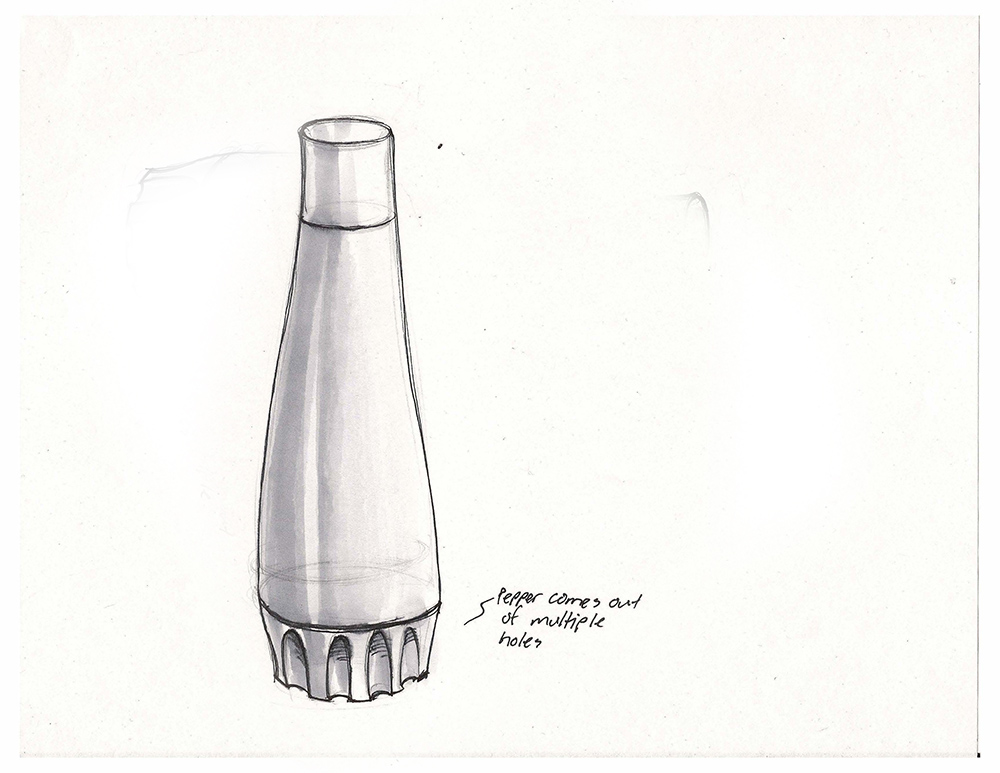
One of the biggest issues people had with existing products was the excess pepper grinds left behind after use. I looked through eBay and Amazon reviews, and noticed a consistent trend:
“I keep my grinders in a glass butter dish bottom in the spice cabinet to collect all the stray grinds!”
“It's a good grinder but if it's not shut properly, it will spill pepper all over the place”
“Almost any pepper/salt grinder will have some seepage, but I keep mine on a tray to contain it”
Developing a Plan
Mission Statement
Design and prototype a set of high quality salt and pepper mills that make use of a bold, simple visual language. The design will be marketed as an “affordable luxury” item, and will be targeted towards homeowners age 20 to 60.
Criteria:
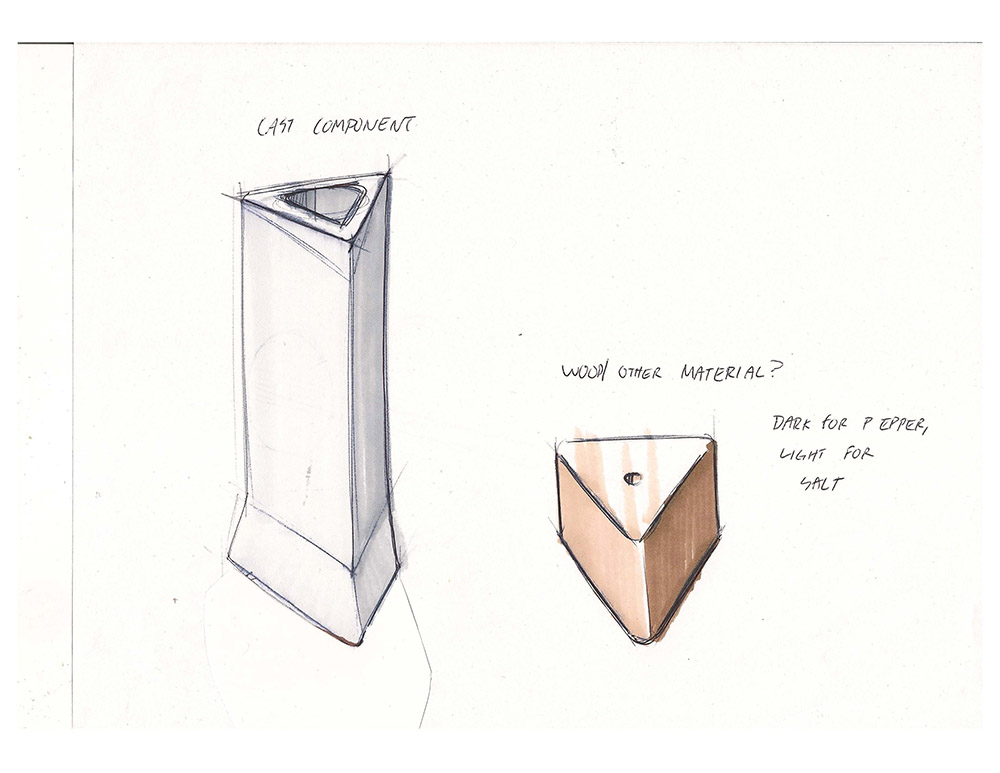
1. The design will be neutral in color, and fit into a variety of different settings.
2. The design should prevent excess pepper grinds from accumulating where it is placed.
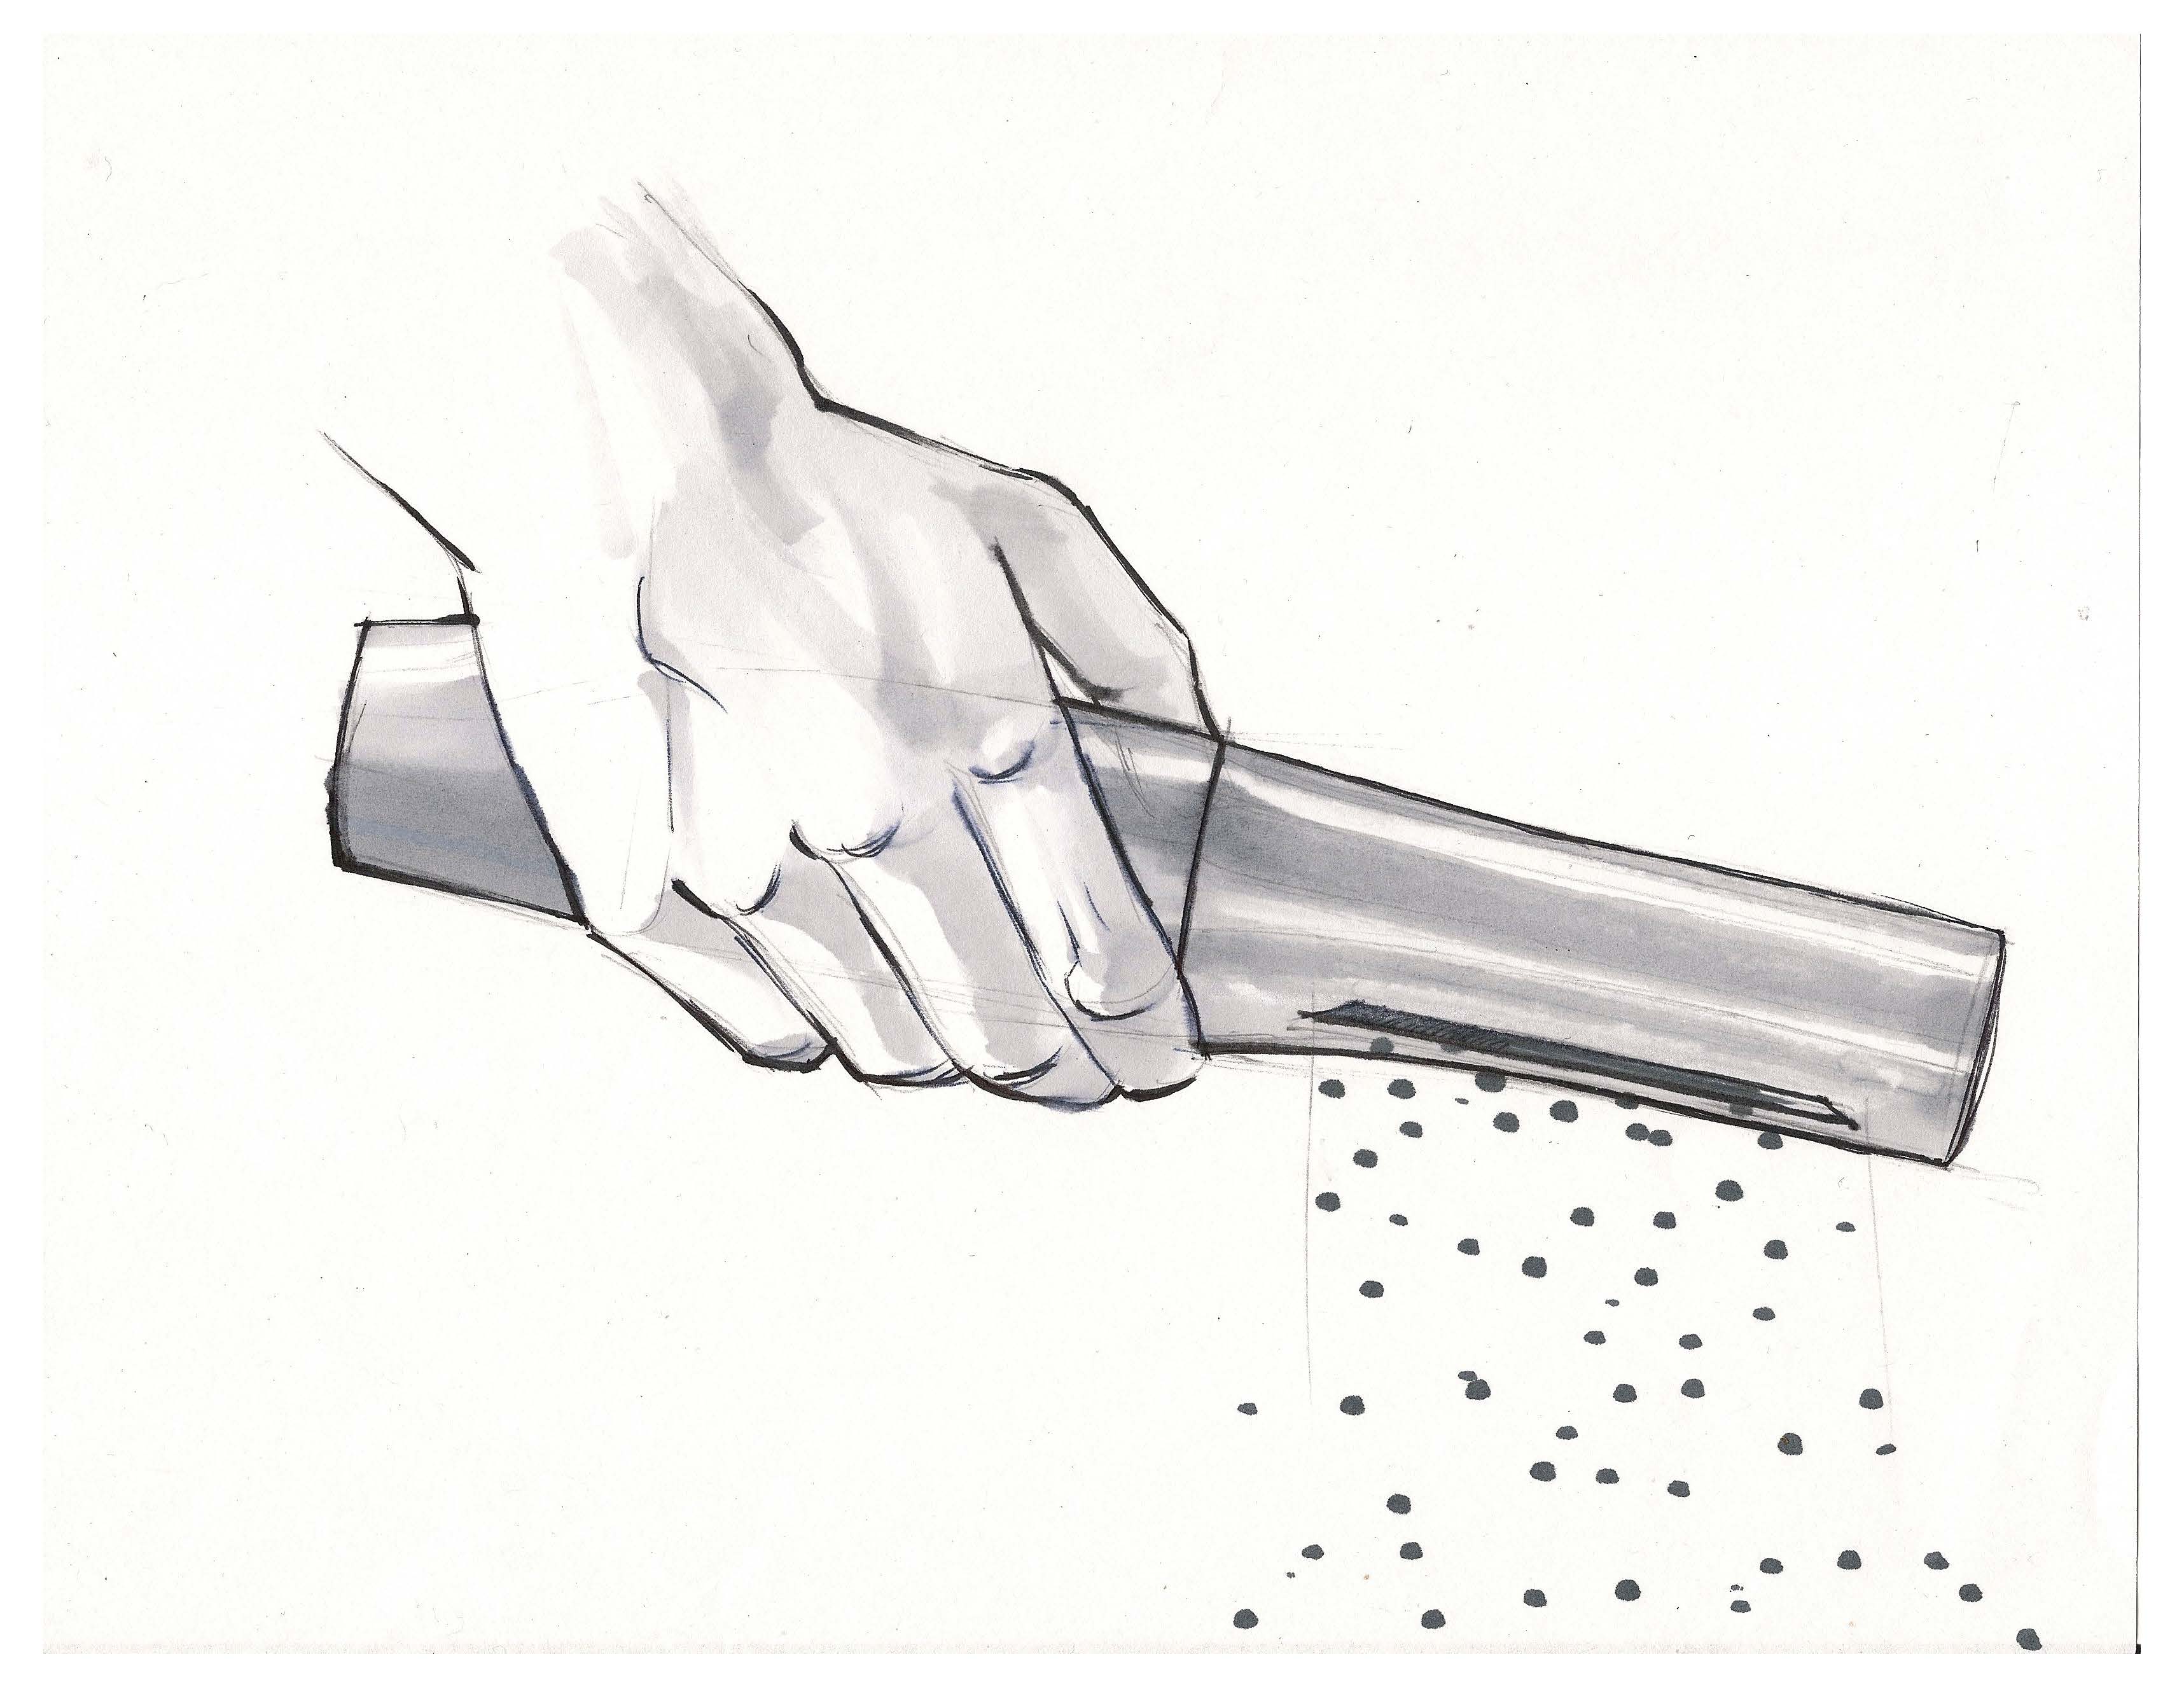
3. The grinder will fit many different hand sizes.
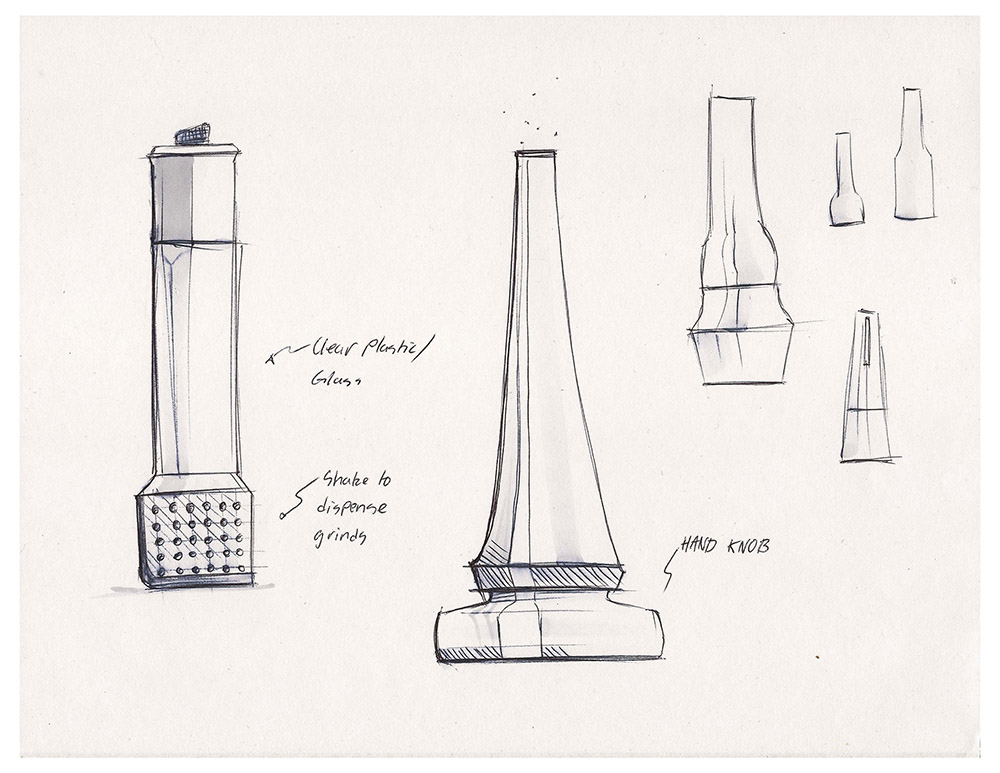
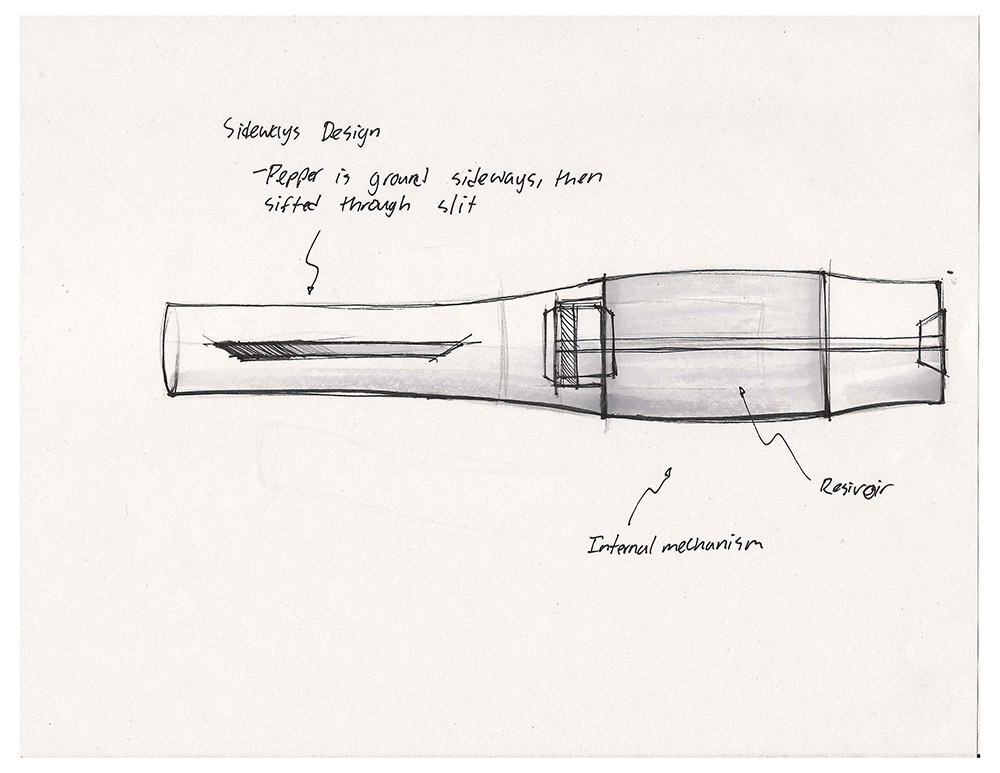
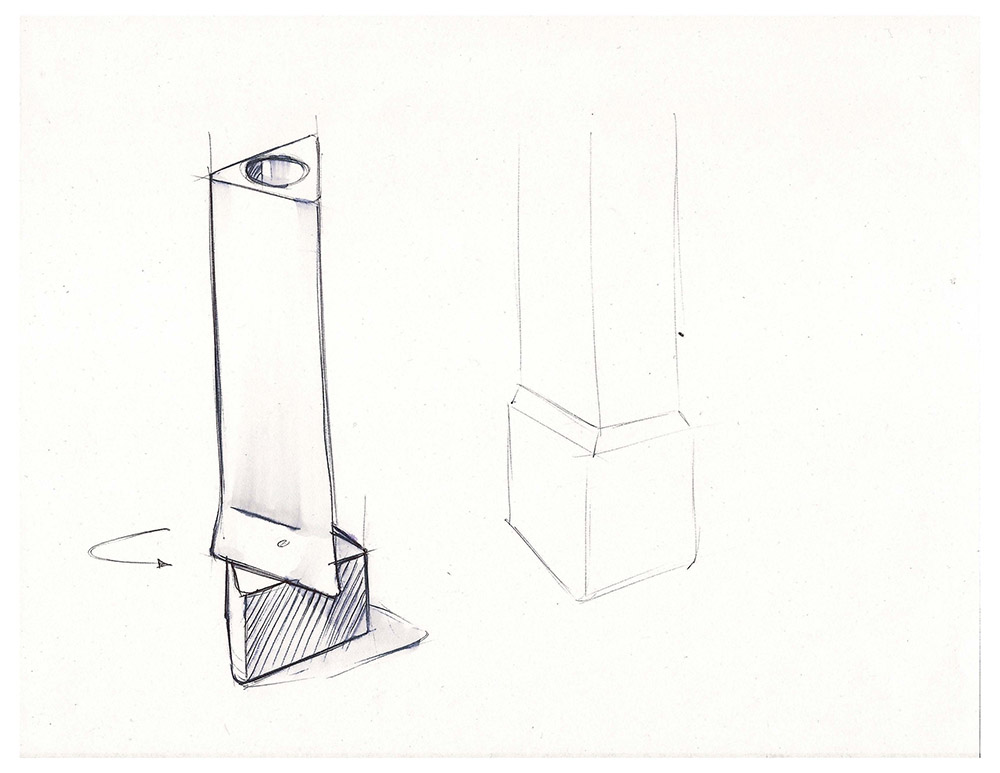
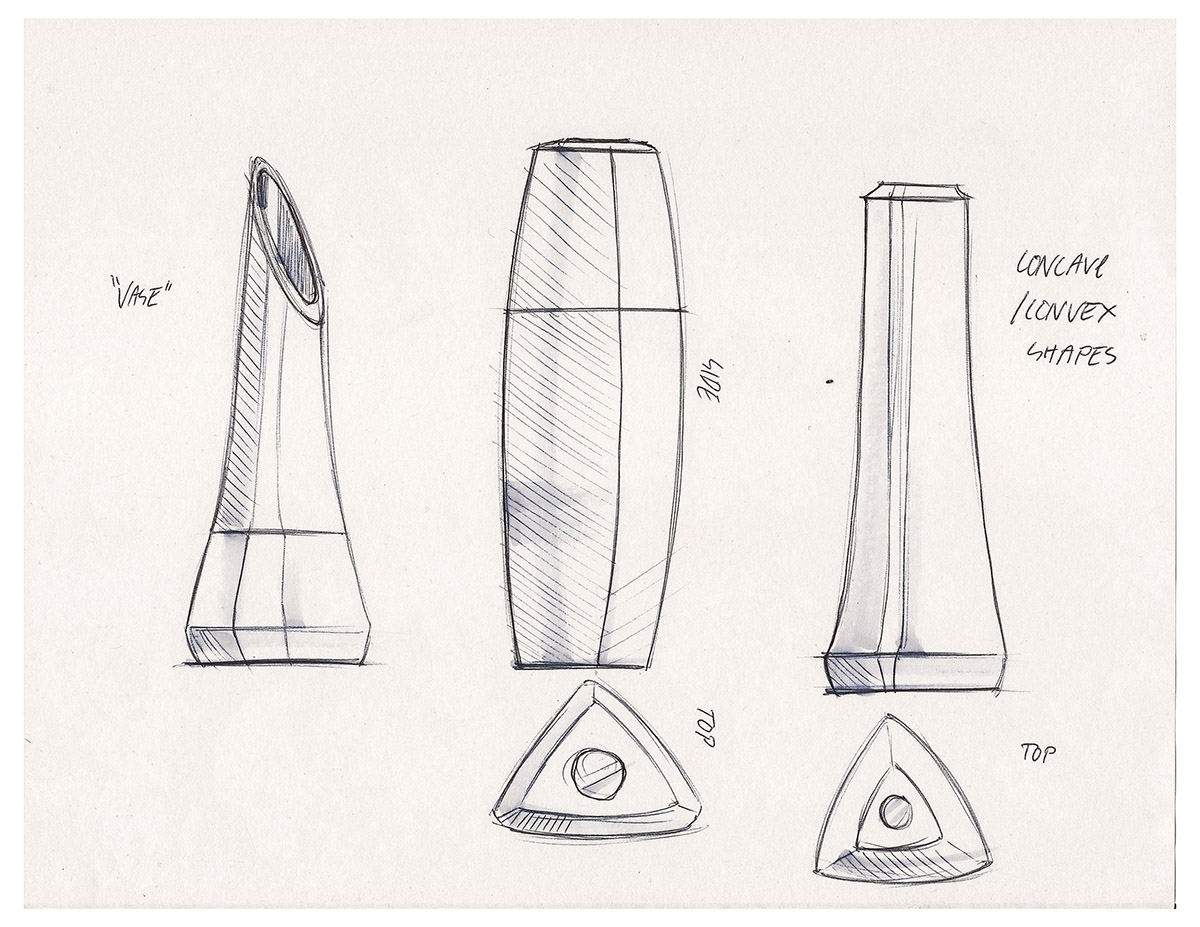
Design Process: Sketches
Initial Ideation
Keeping this problem in mind, I developed a mission statement prior to sketching or model-making that would seek to address the issue.


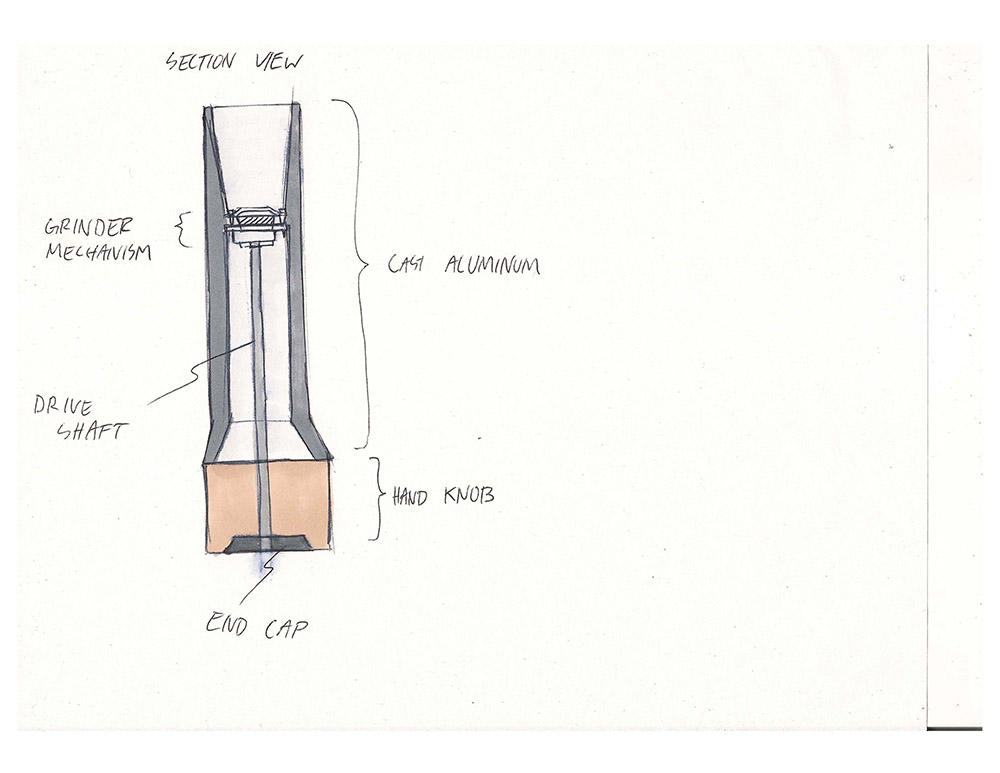

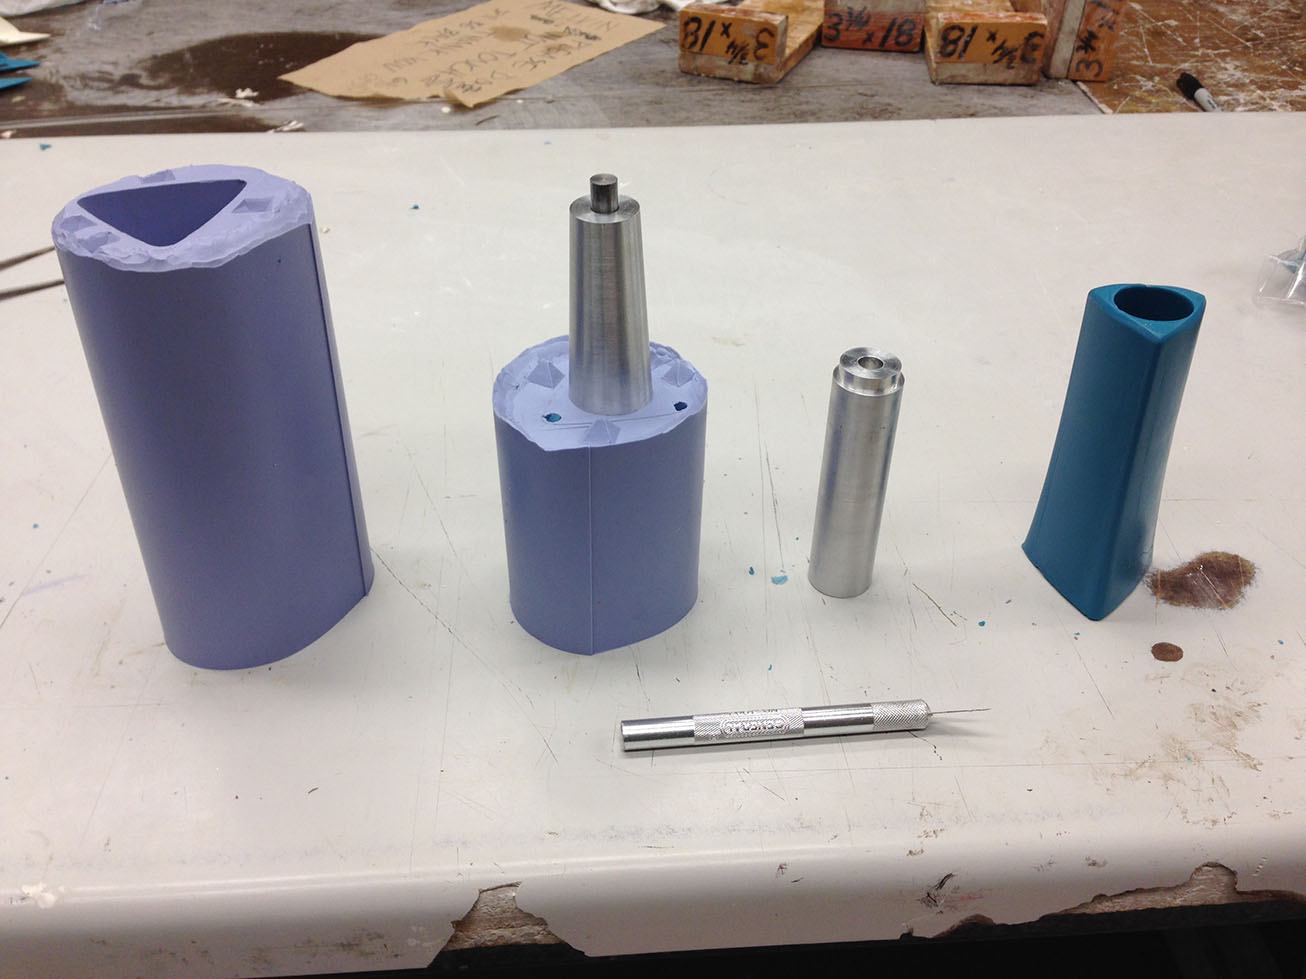
Mechanical Design
Internal Components
I used the internal components of an existing product, since most salt and pepper mills use standard sizes. With these dimensions in mind, I was able to build my design around them.
Process
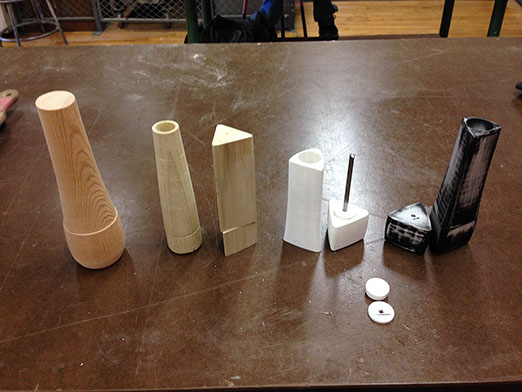
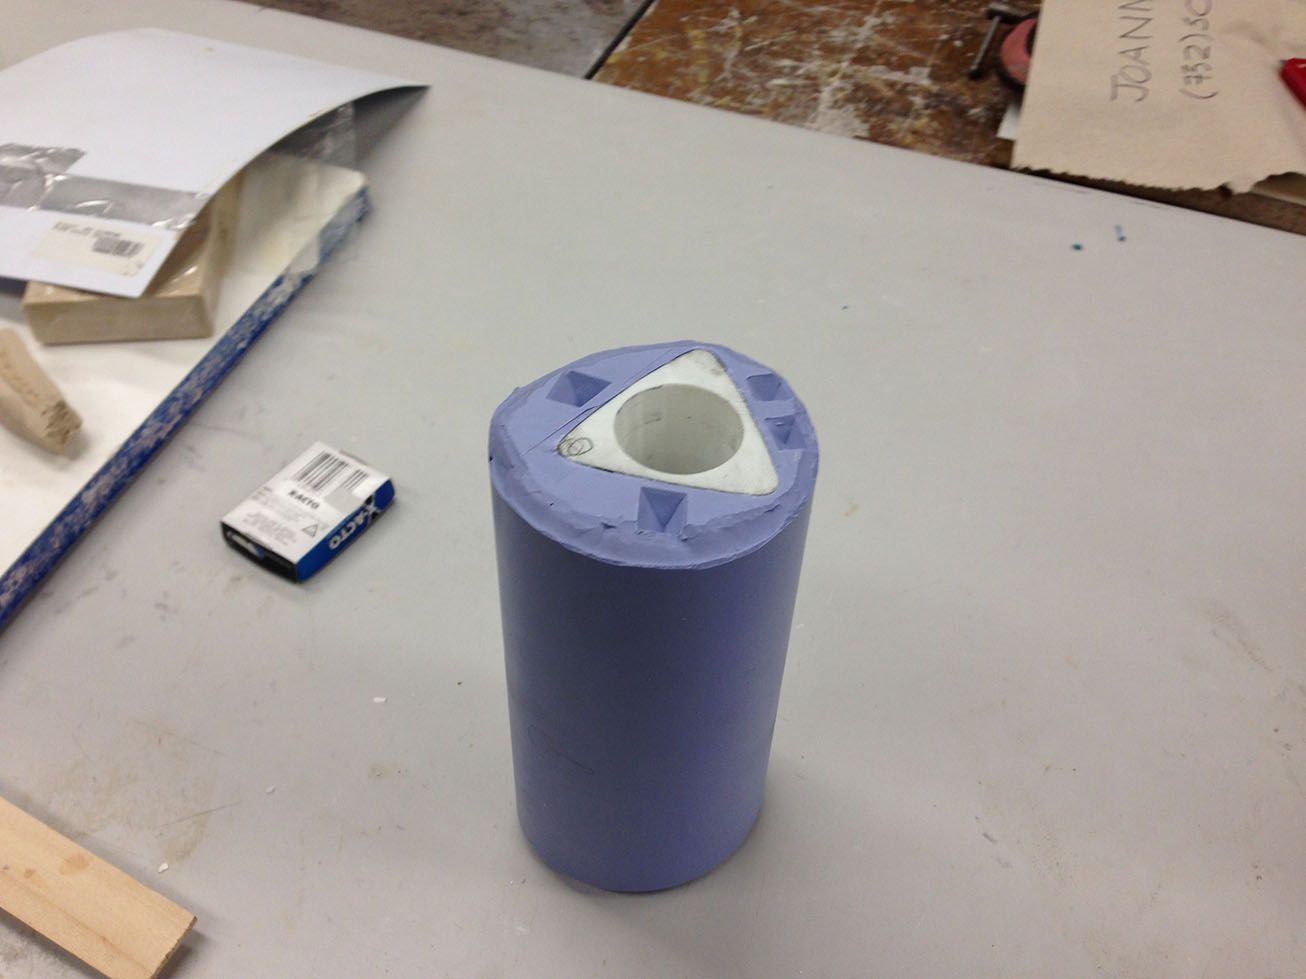
Model-Making Process
In addition to the sketches that I did, I also built many different models. Starting with wood, I eventually used 3D printing to quickly make changes to my design in preparation for mold-making. In order to get my wax investment, I made a mold directly from my final 3D print.
Step 1: 3D Print Output
"I keep my grinders in a glass butter dish bottom in the spice cabinet to collect all the stray grinds!"

Step 2: Mold Making
"It's a good grinder but if it's not shut properly, it will spill pepper all over the place"
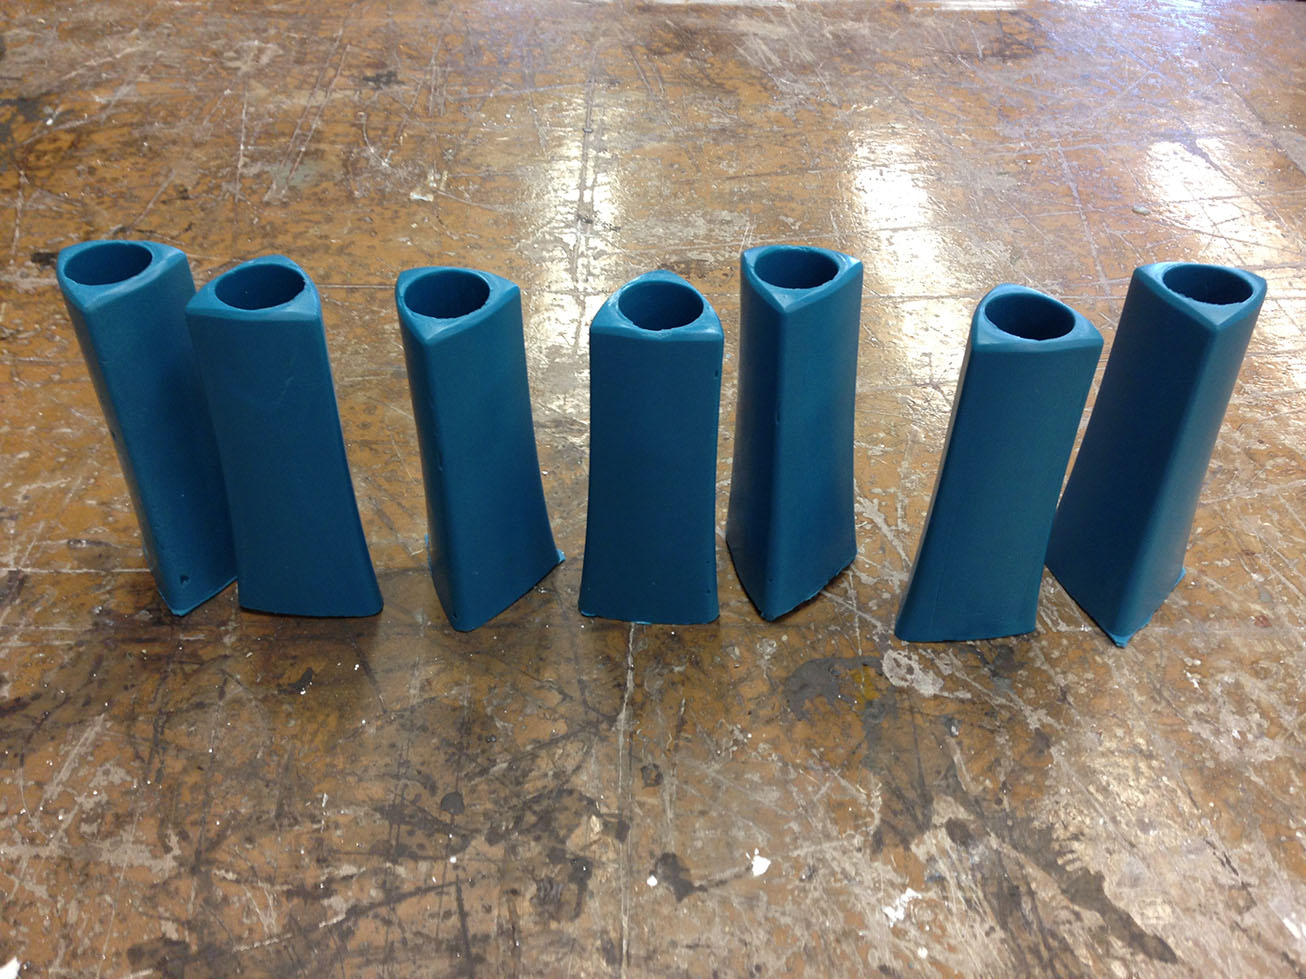
Step 3: Wax Injection Output
"Almost any pepper/salt grinder will have some seepage, but I keep mine on a tray to contain it"
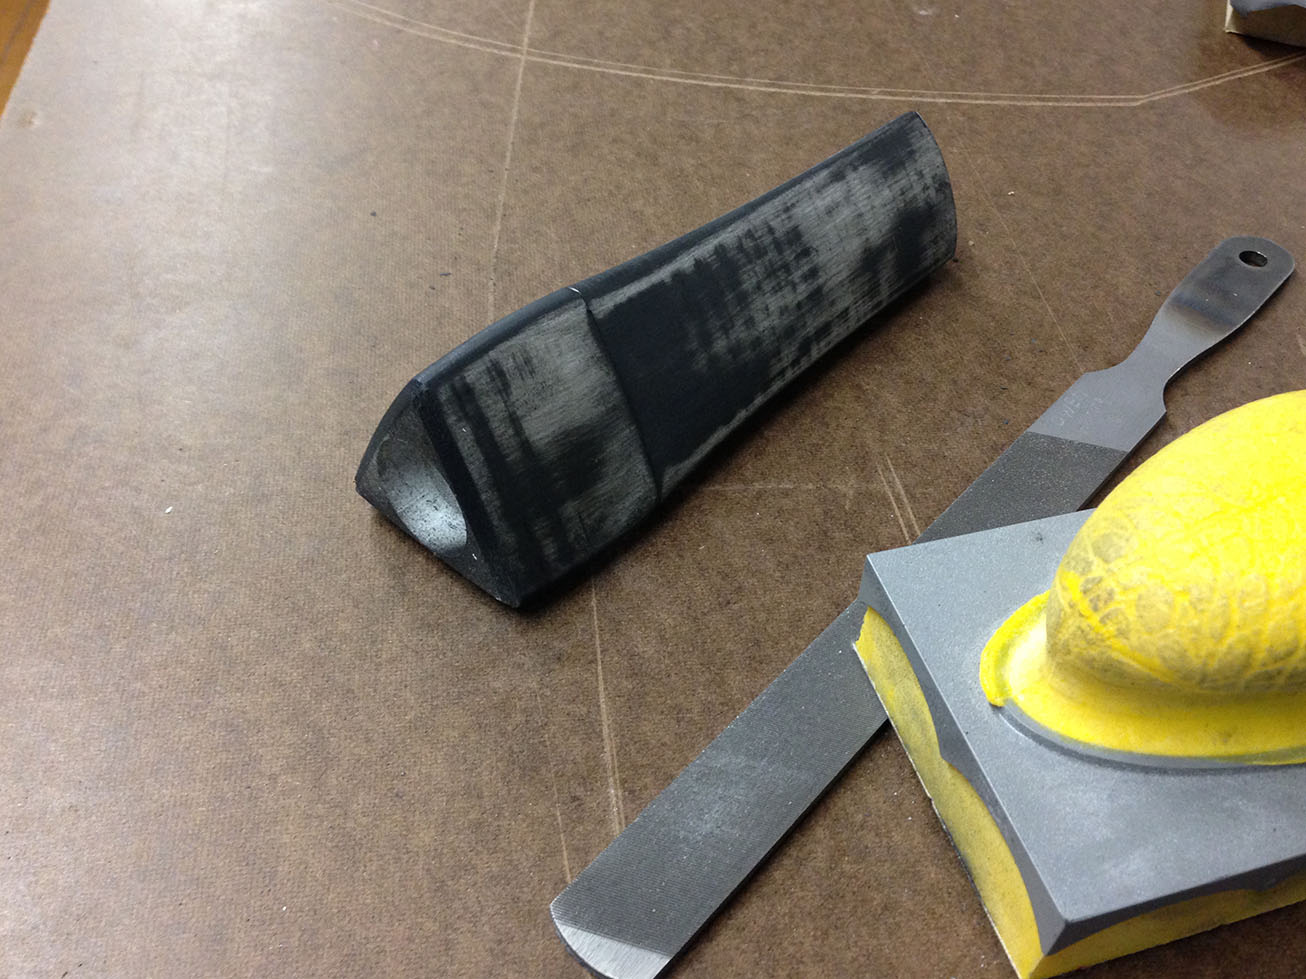

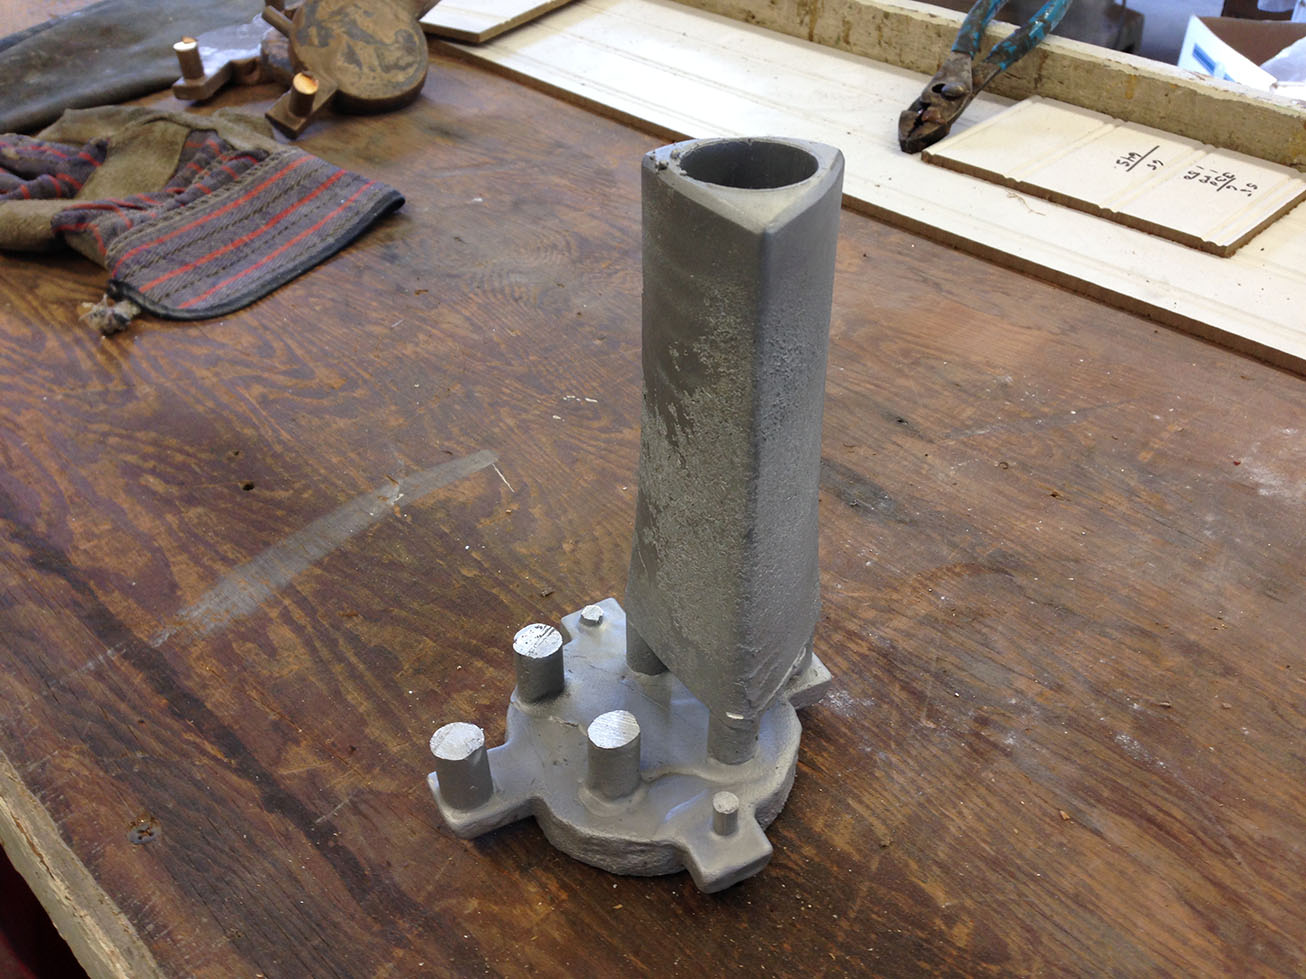
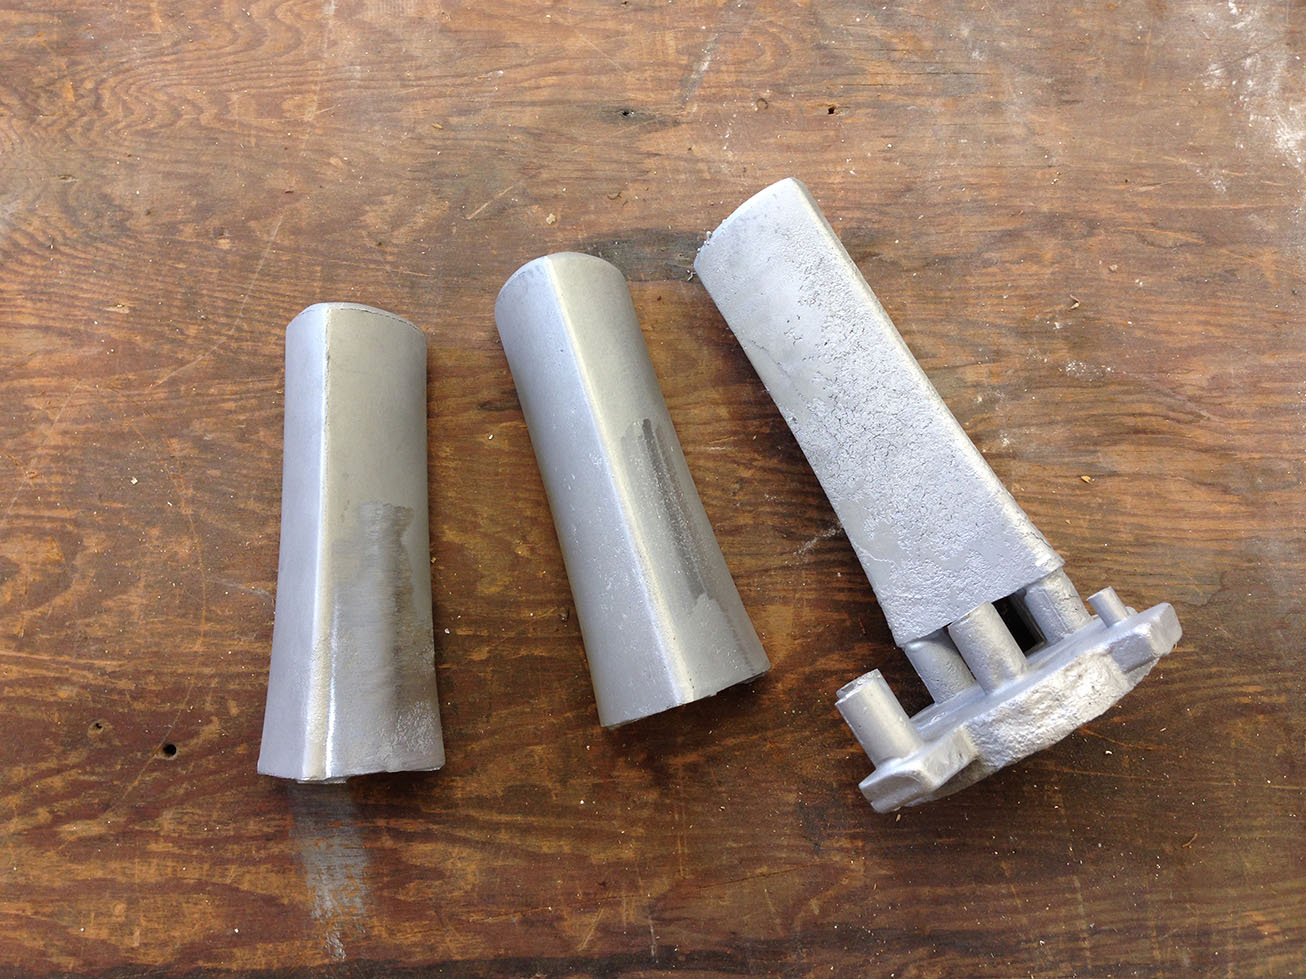
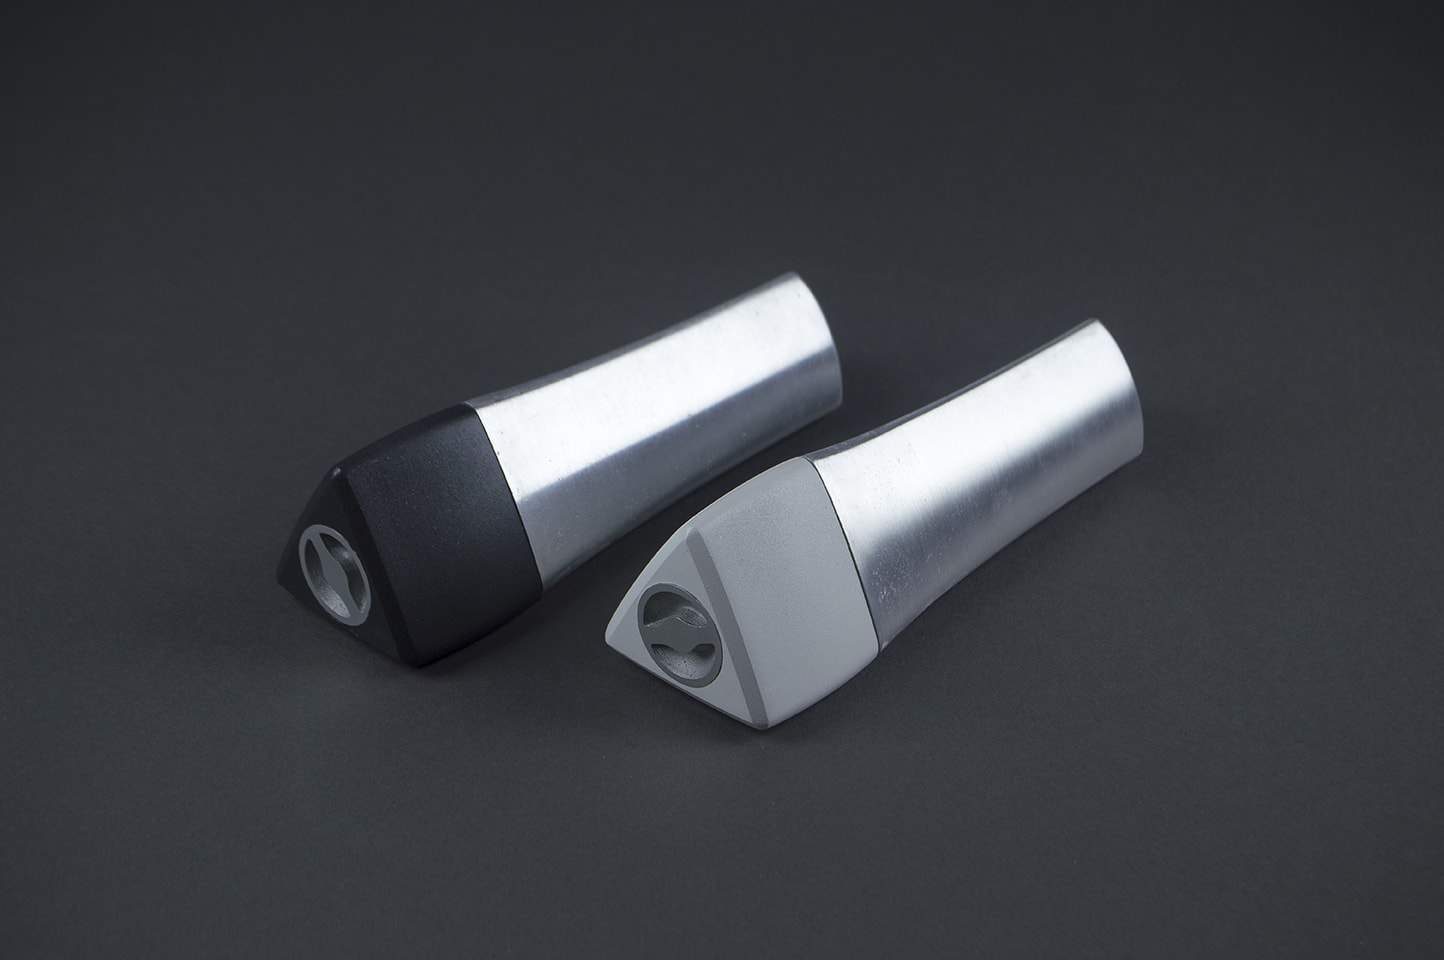
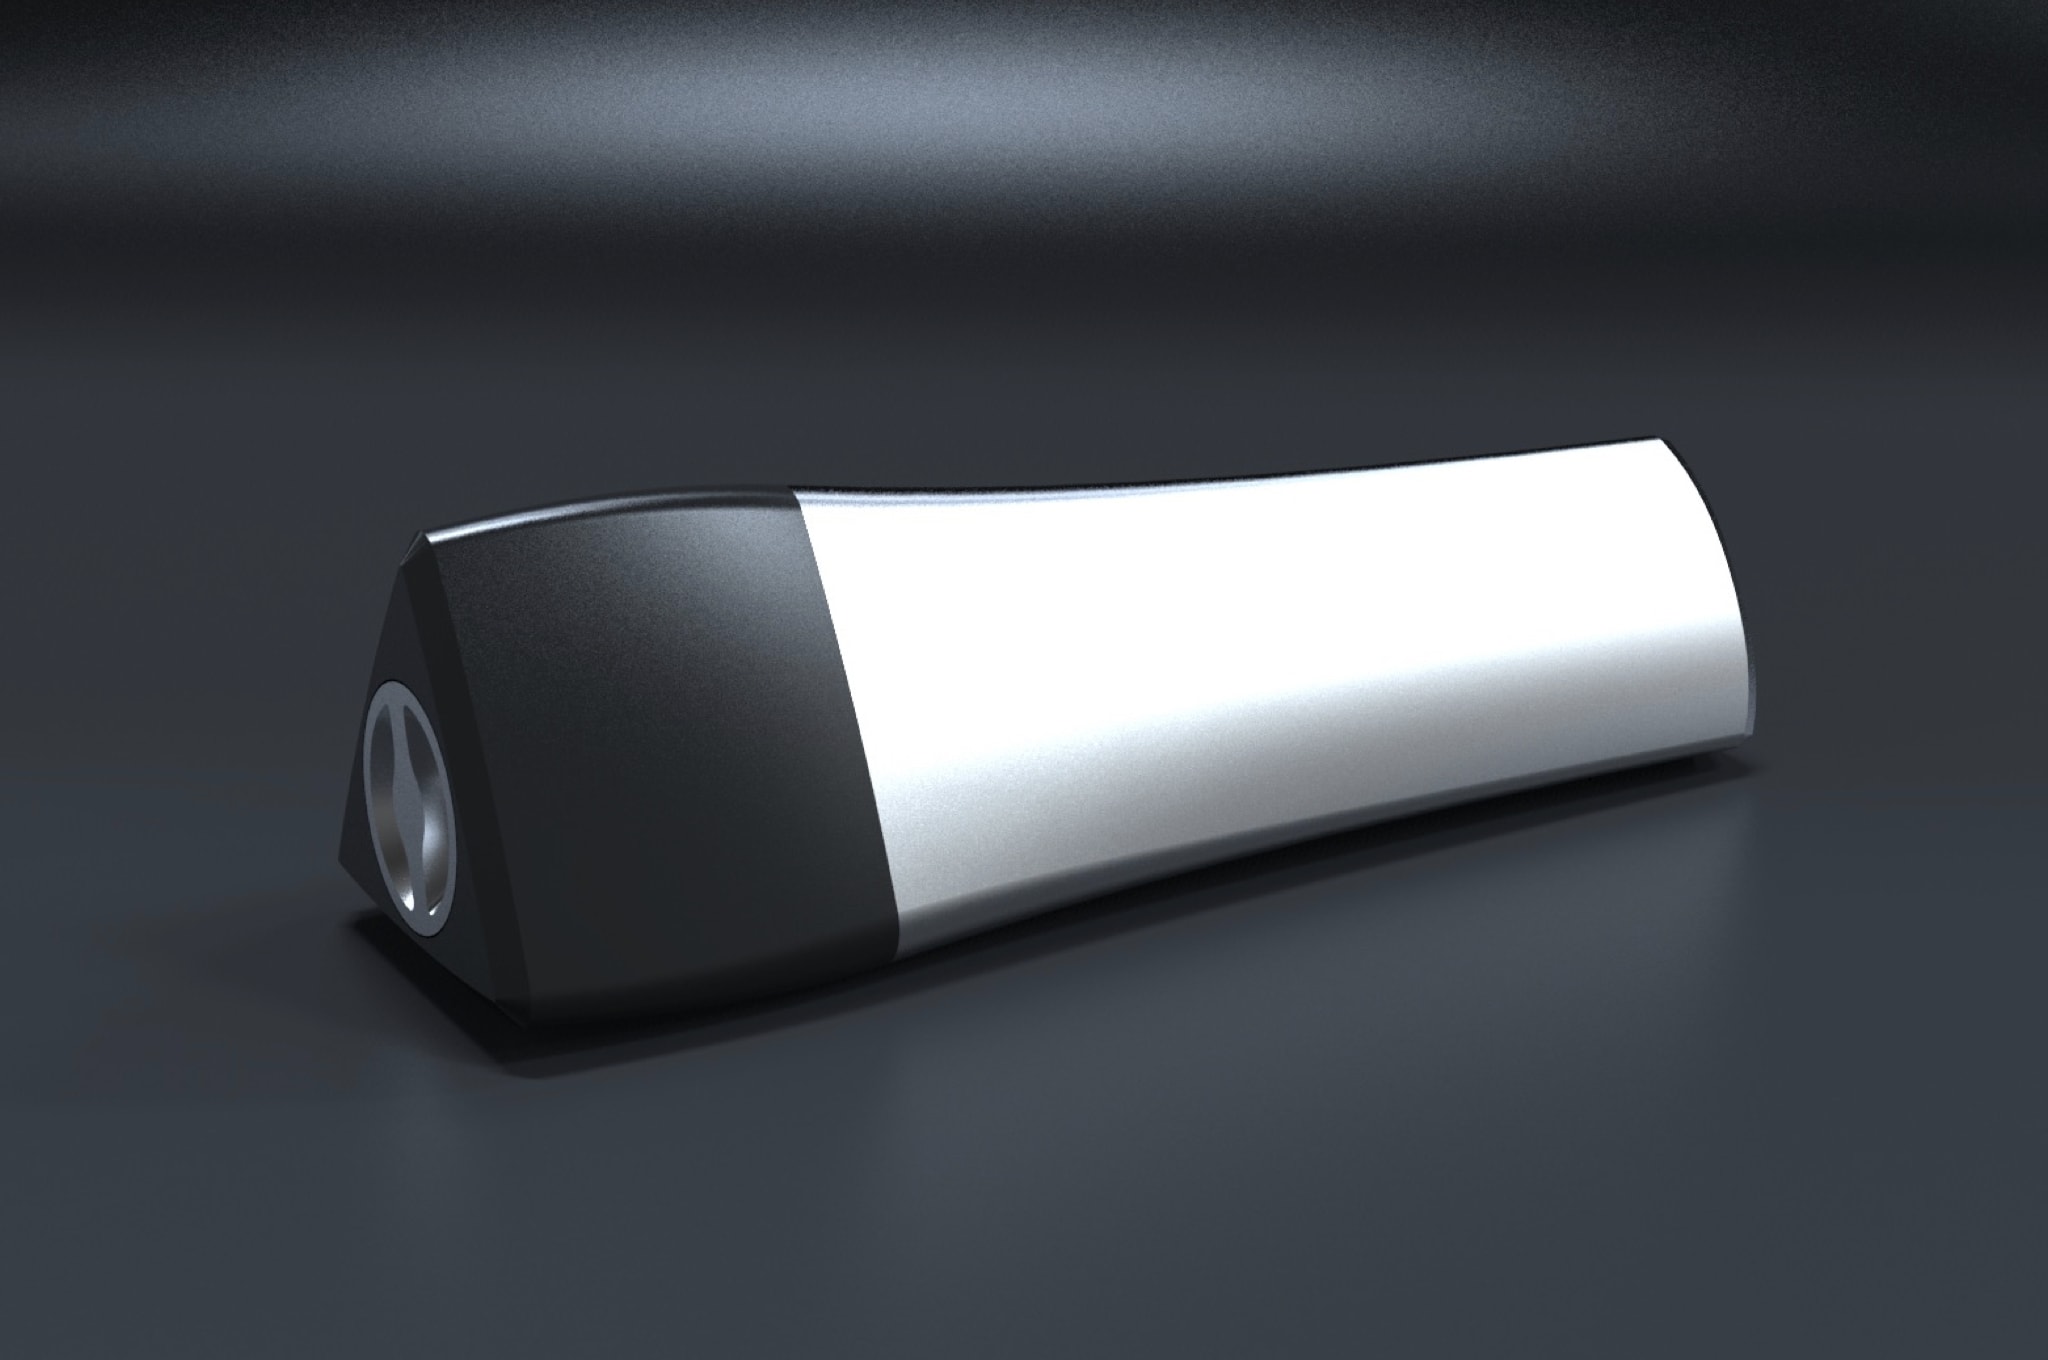
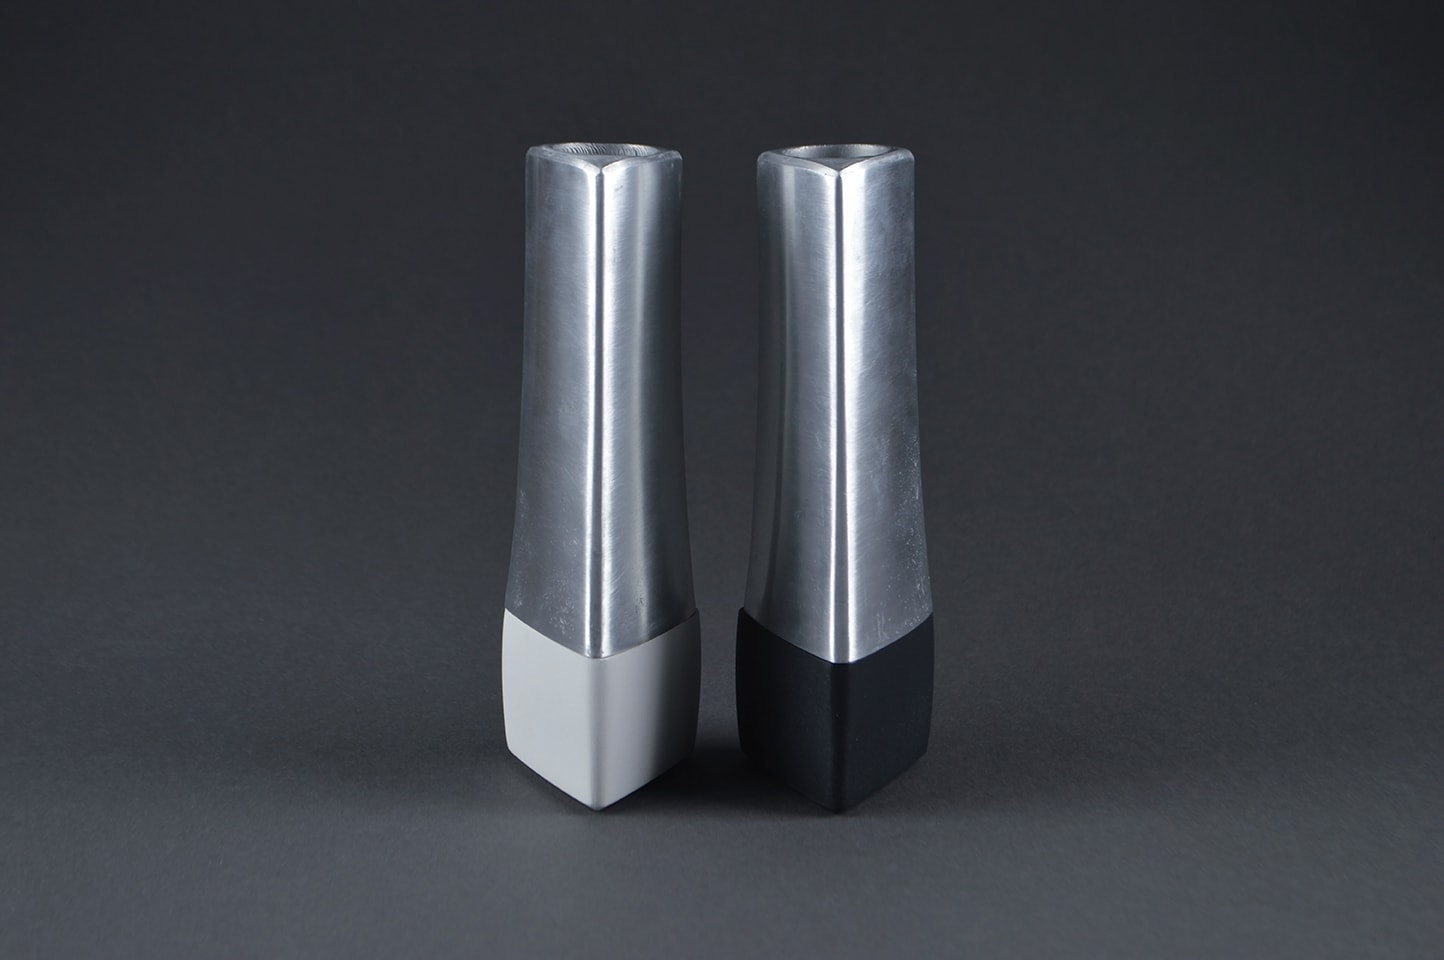
The Prototype
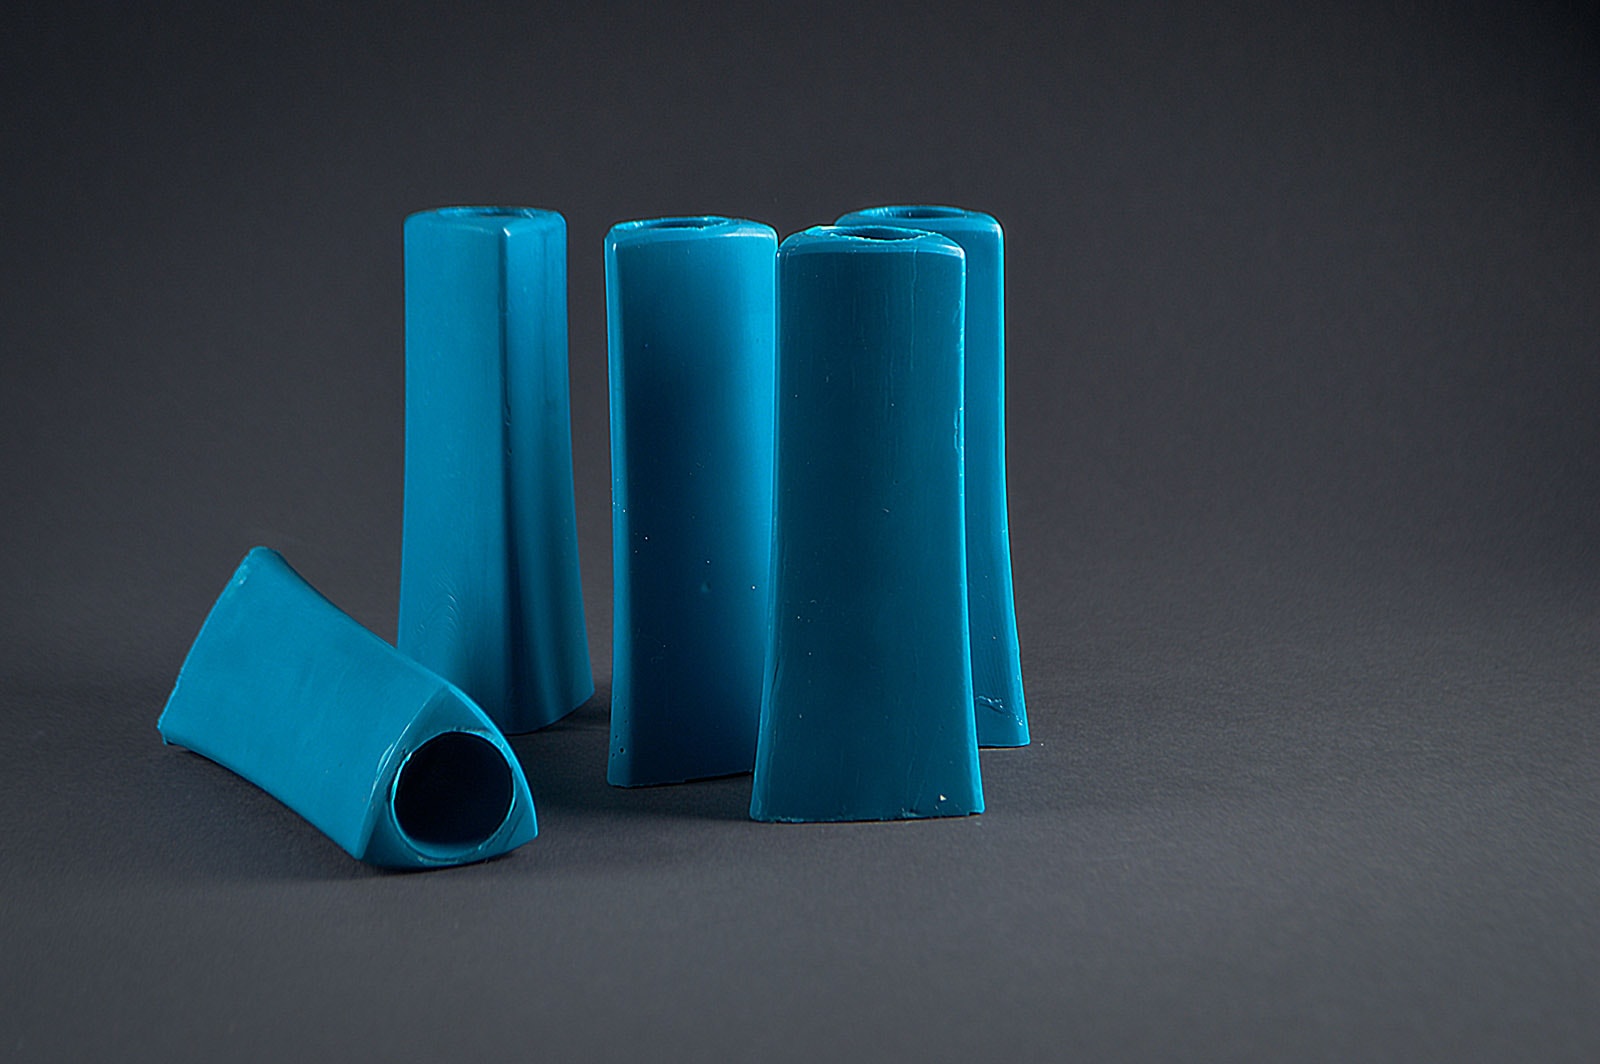
Final Cast Prototype
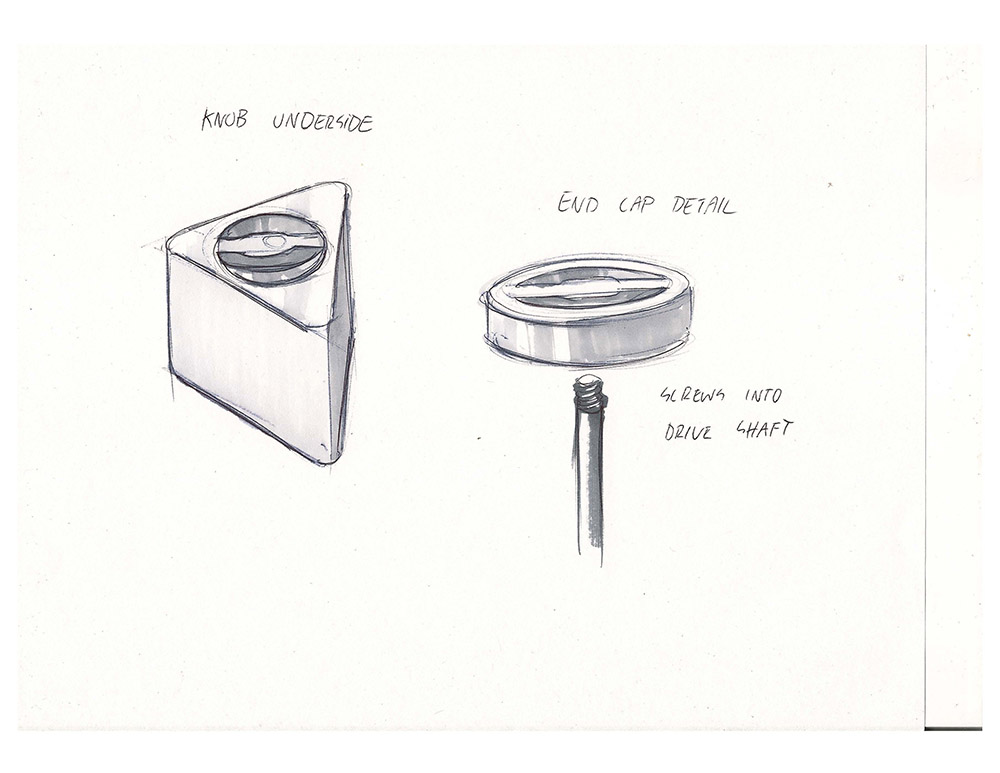
The final product: a salt and pepper mill set that achieve my design criteria. The issue of residual grinds on the table is solved by simply inverting the design - the grinding end is now facing upward instead of downward.
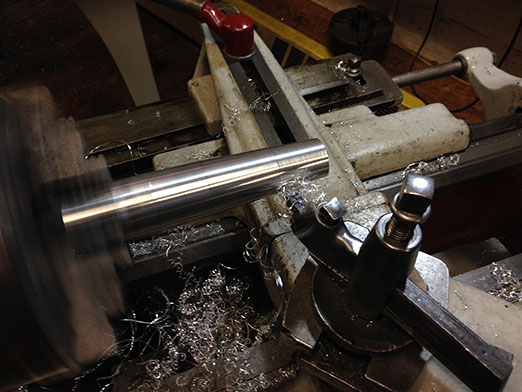
After hours and hours of sanding and polishing, I had two working salt and pepper grinders. I prototyped the knobs at the bottom through 3D printing, although ultimately I anticipate that they would be injection moulded. Due to the difference in weight between the top portion and the bottom portion, if I had done the project over again, I would’ve swapped the material selection. If the metal portion were on the bottom instead of the top, that would help weigh the grinders down better to prevent tipping over.
Project 3
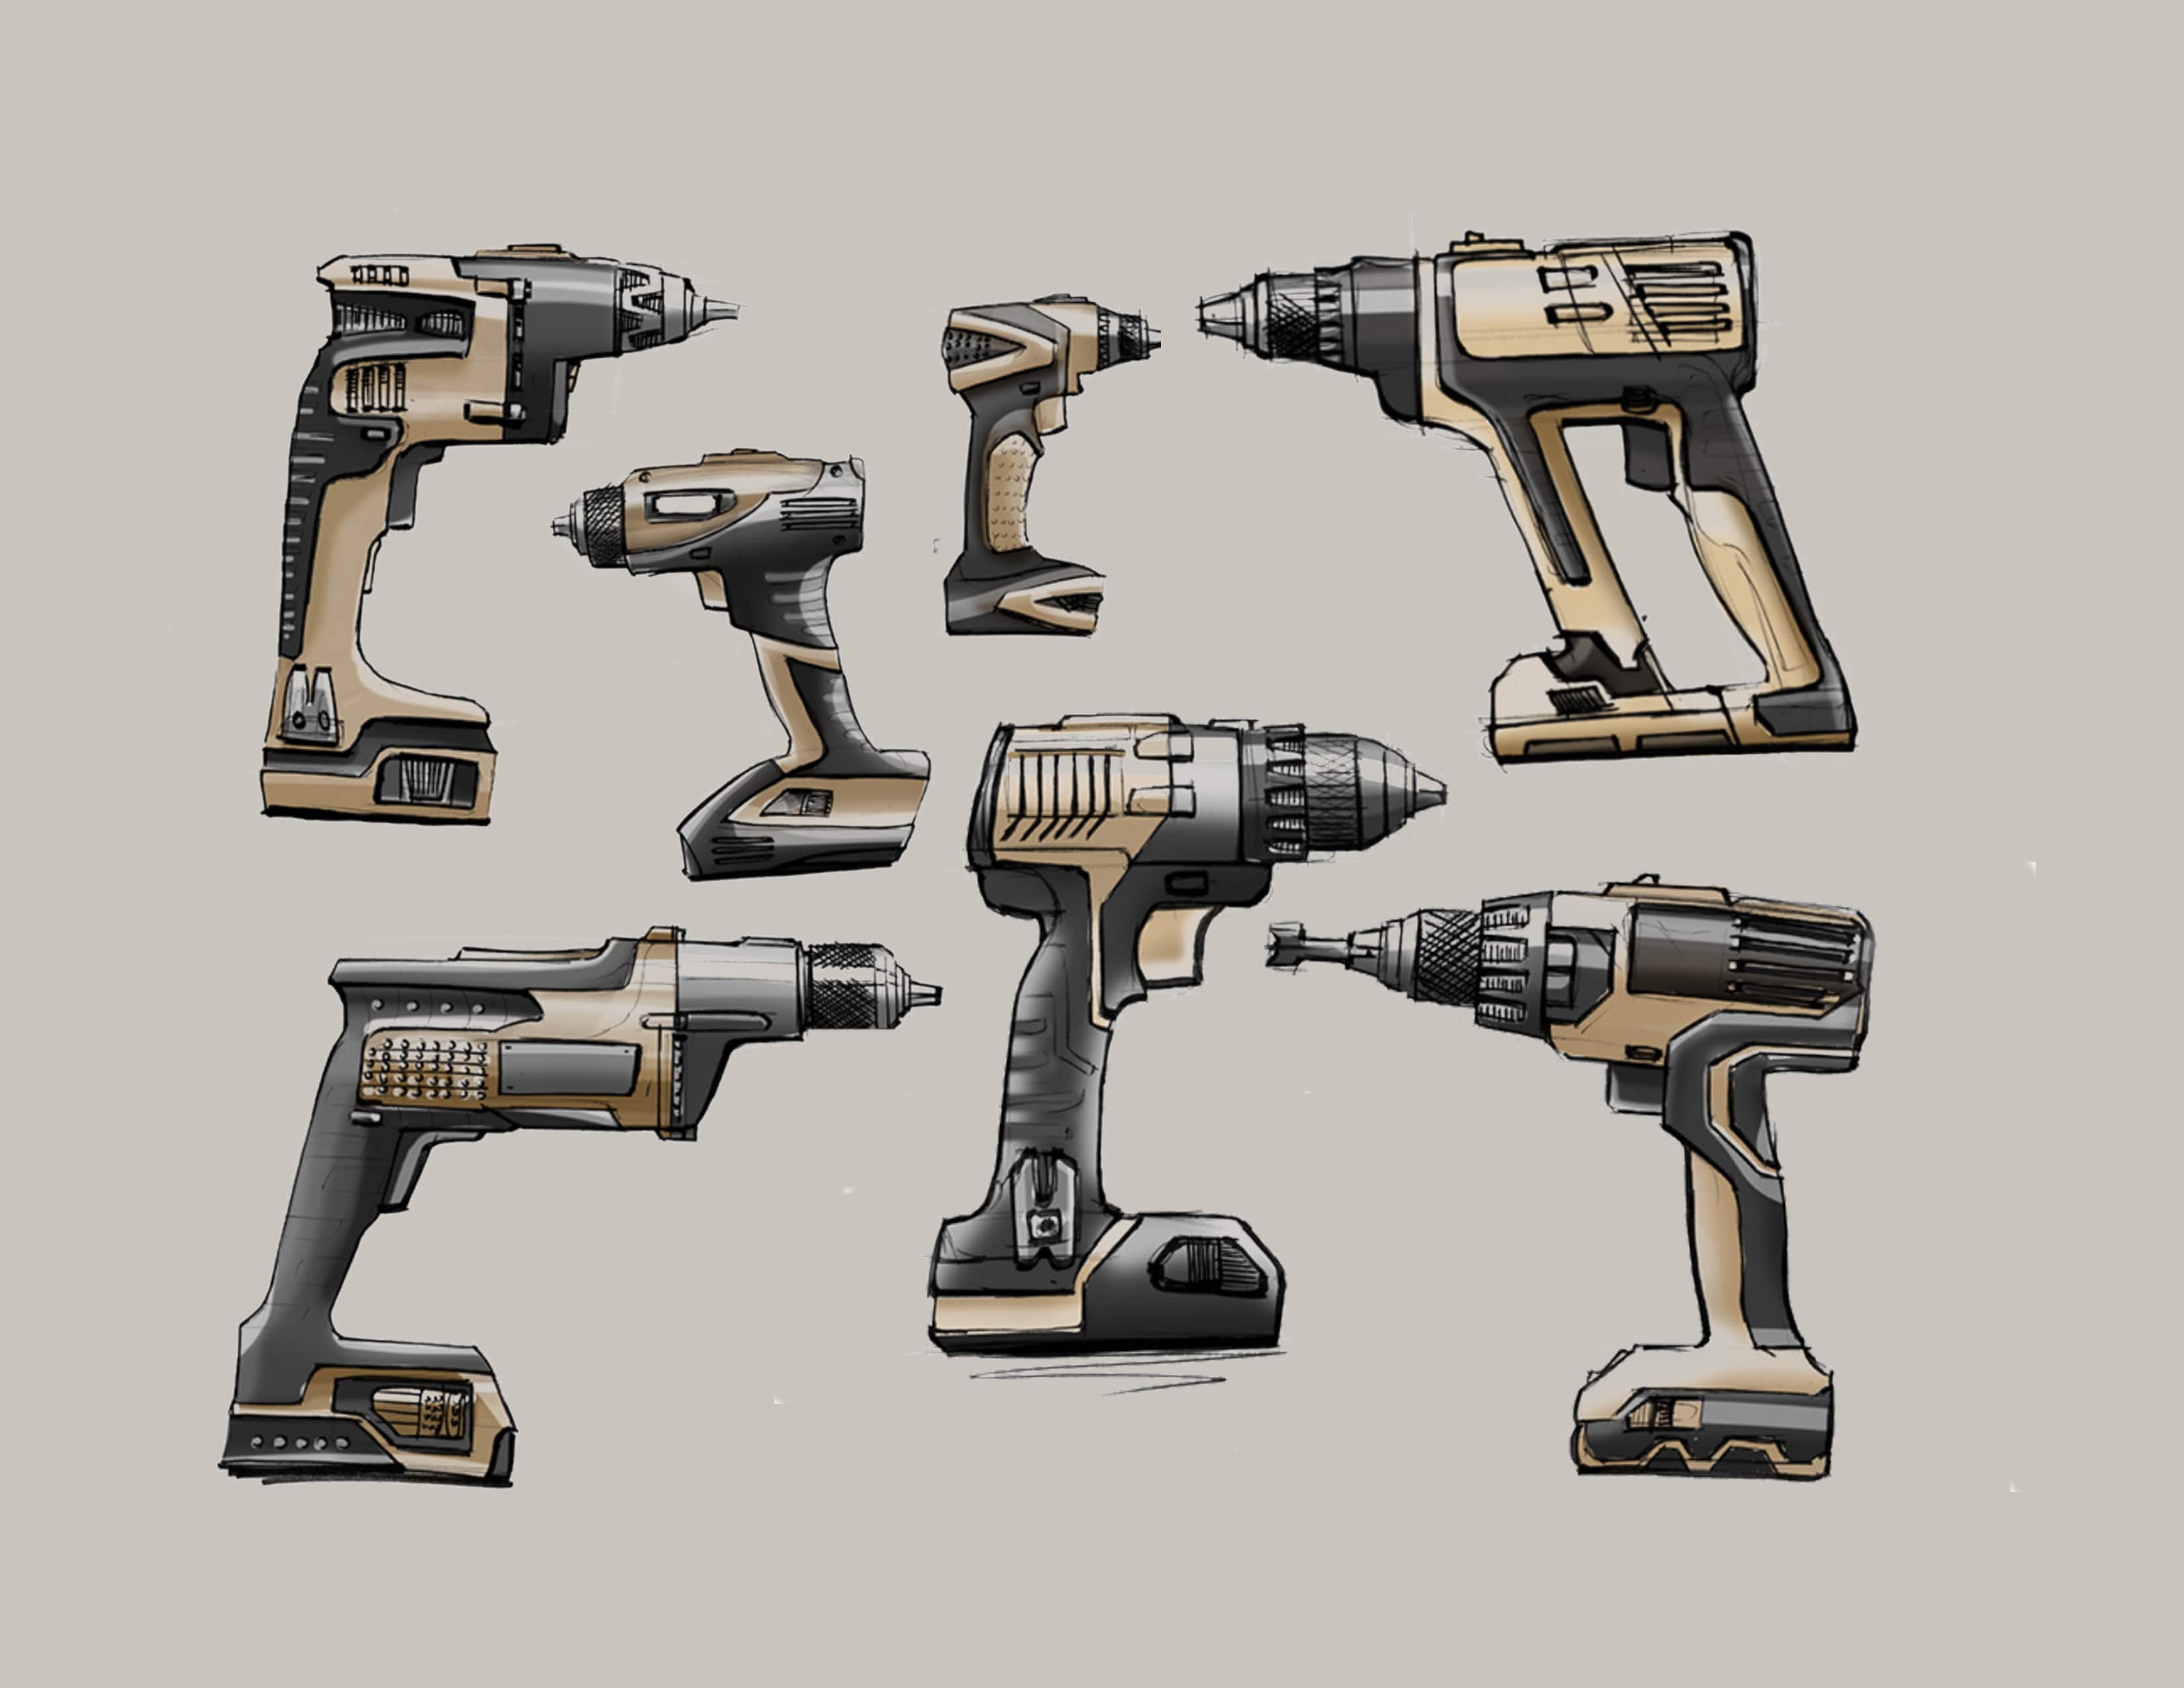
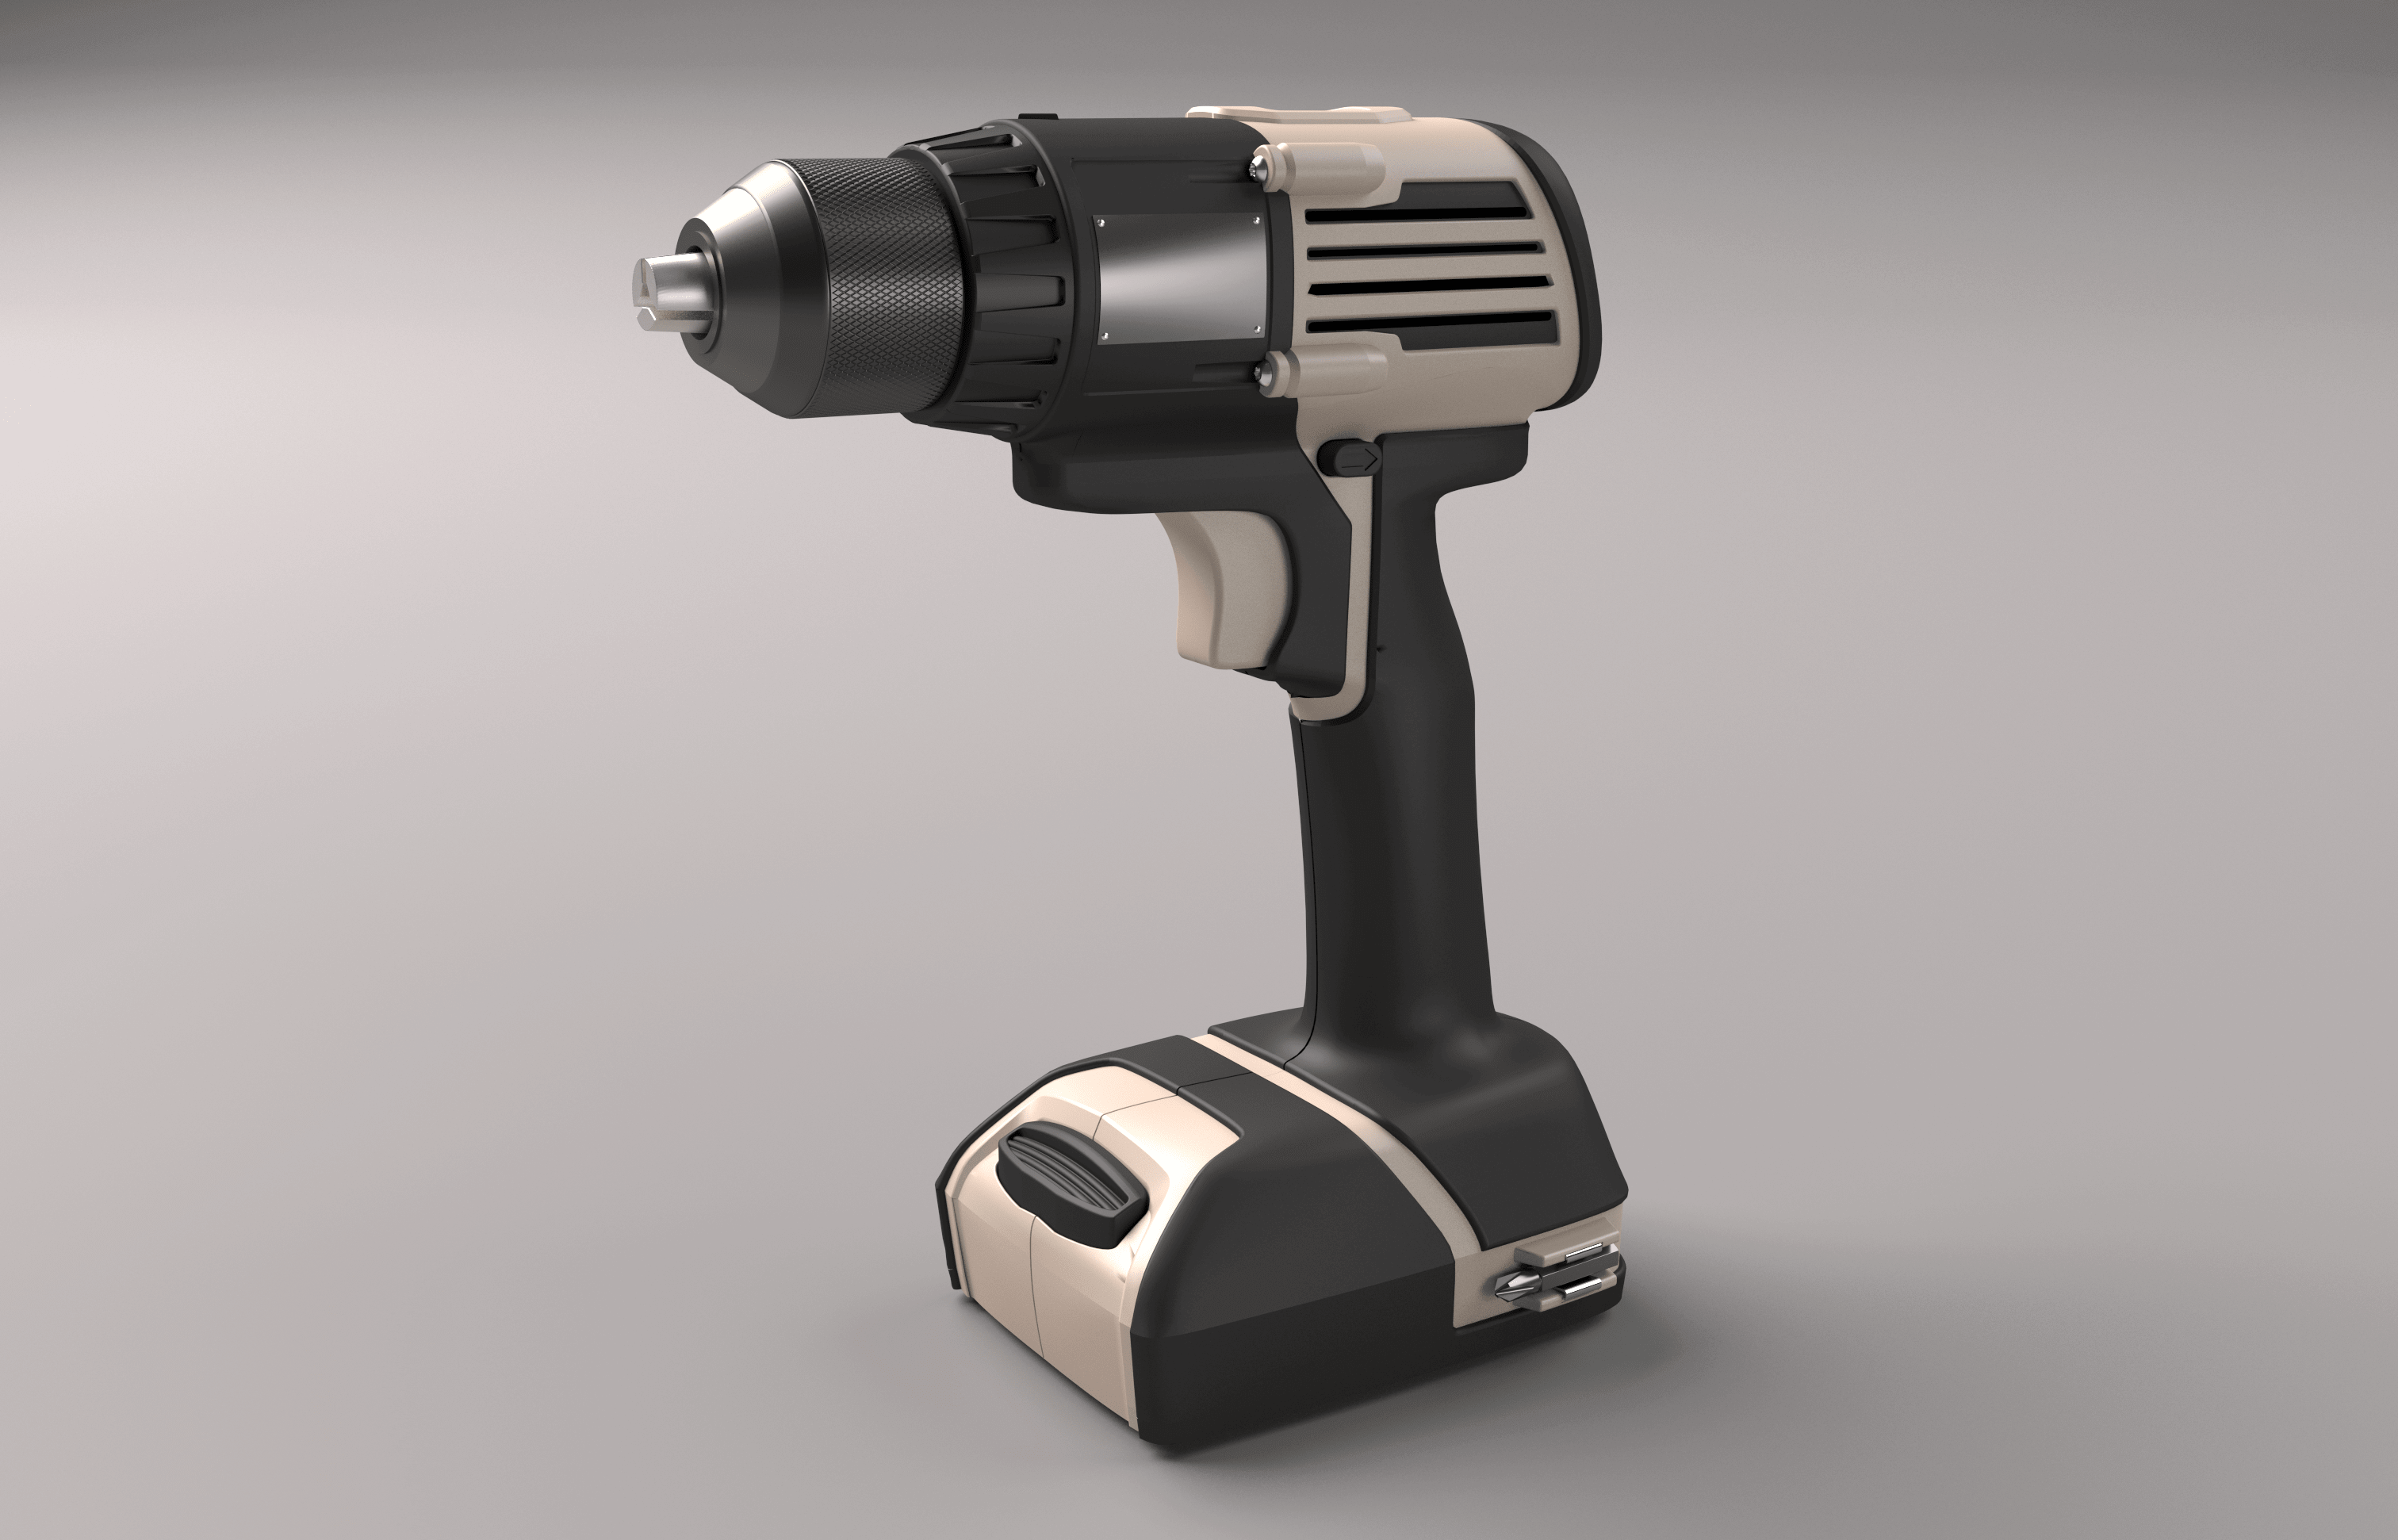
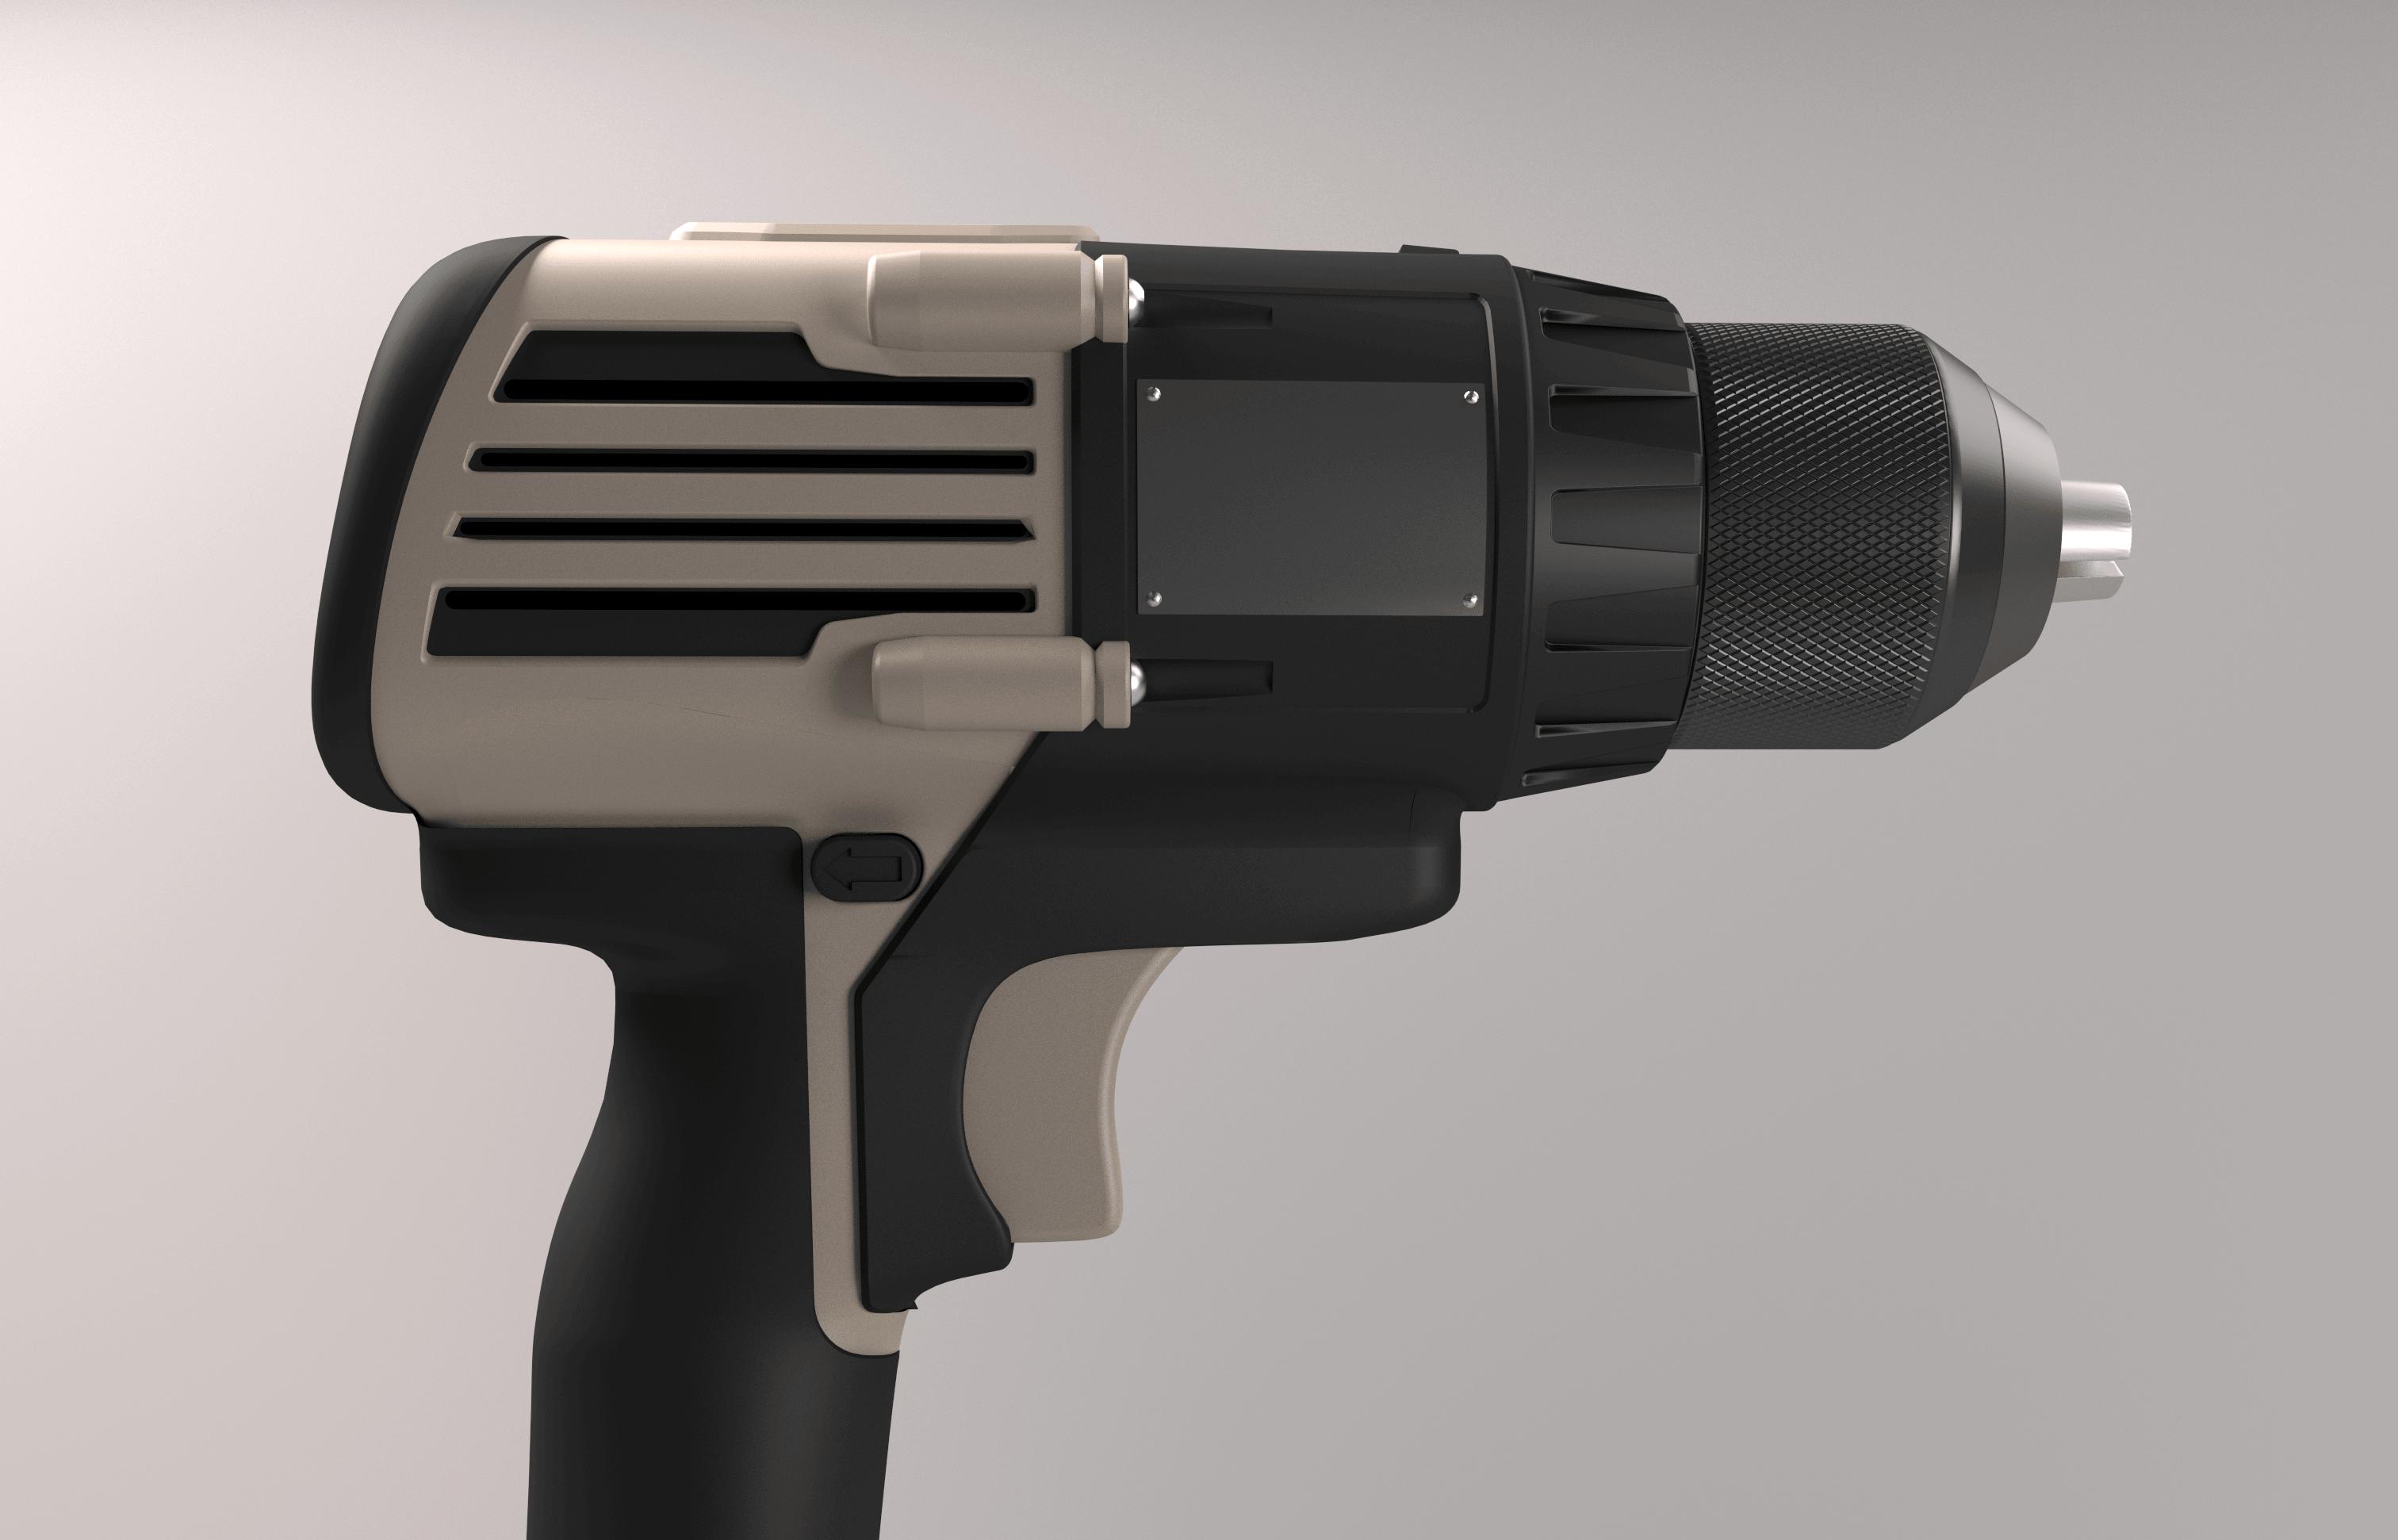
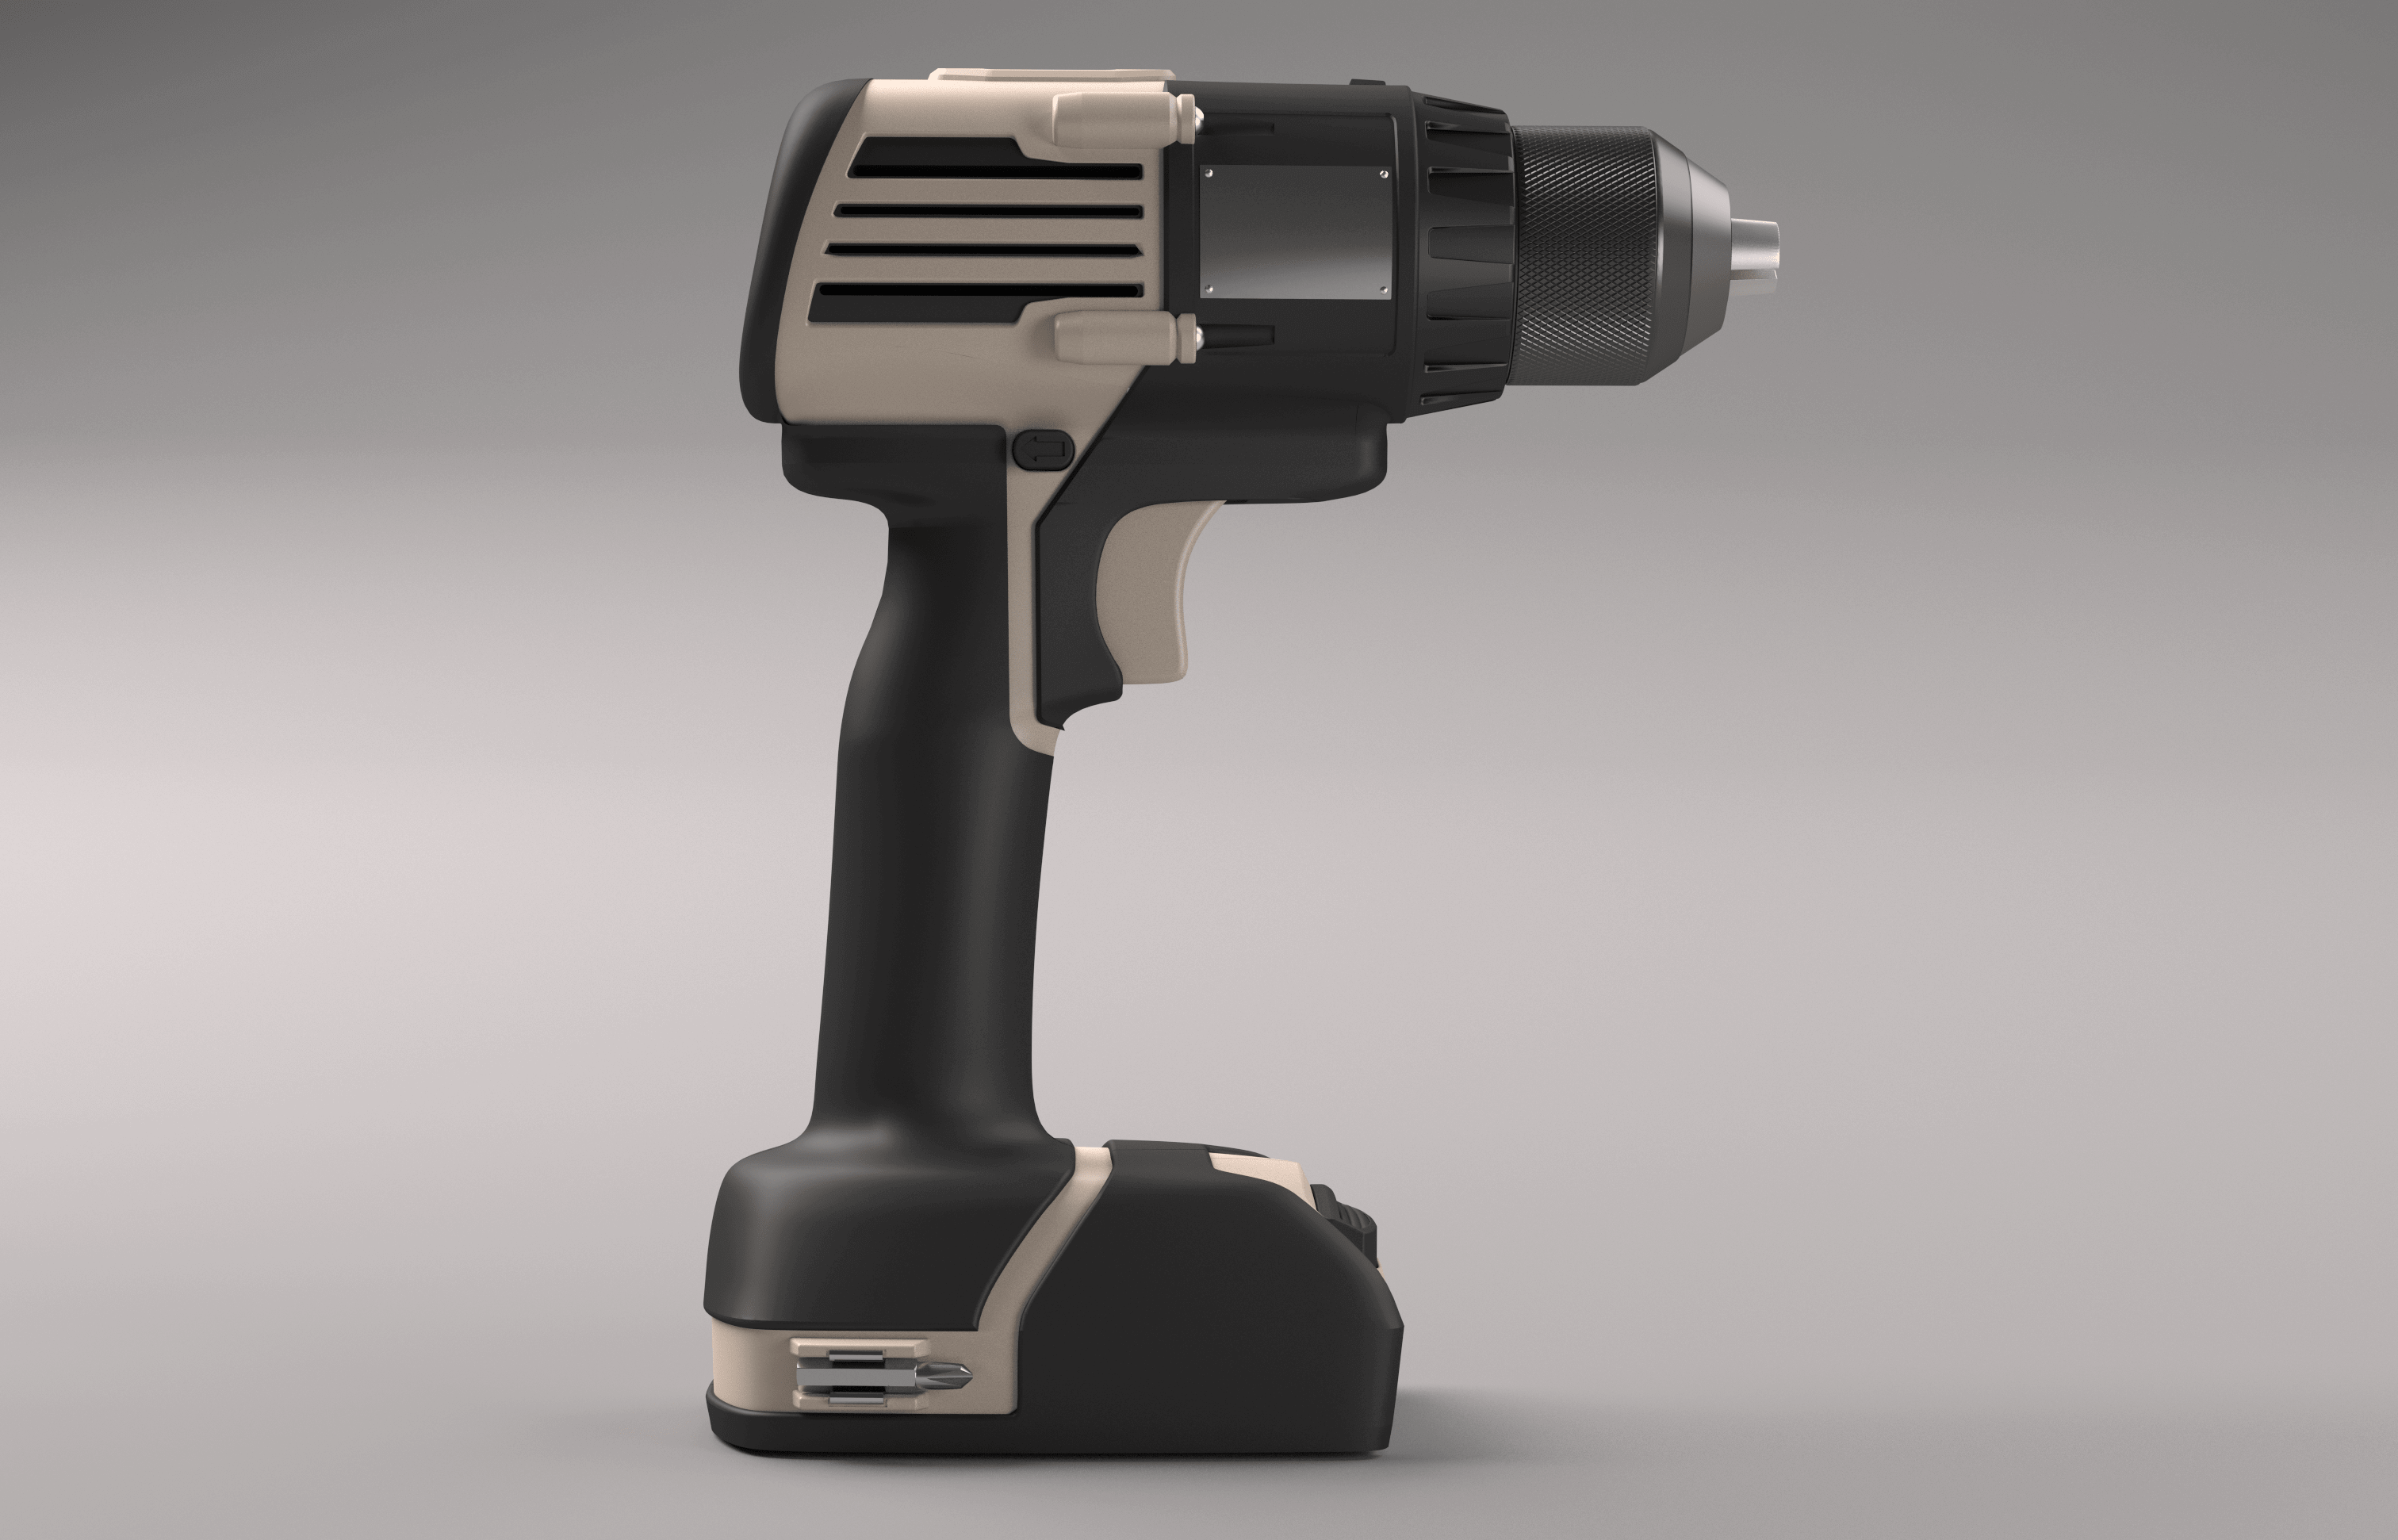
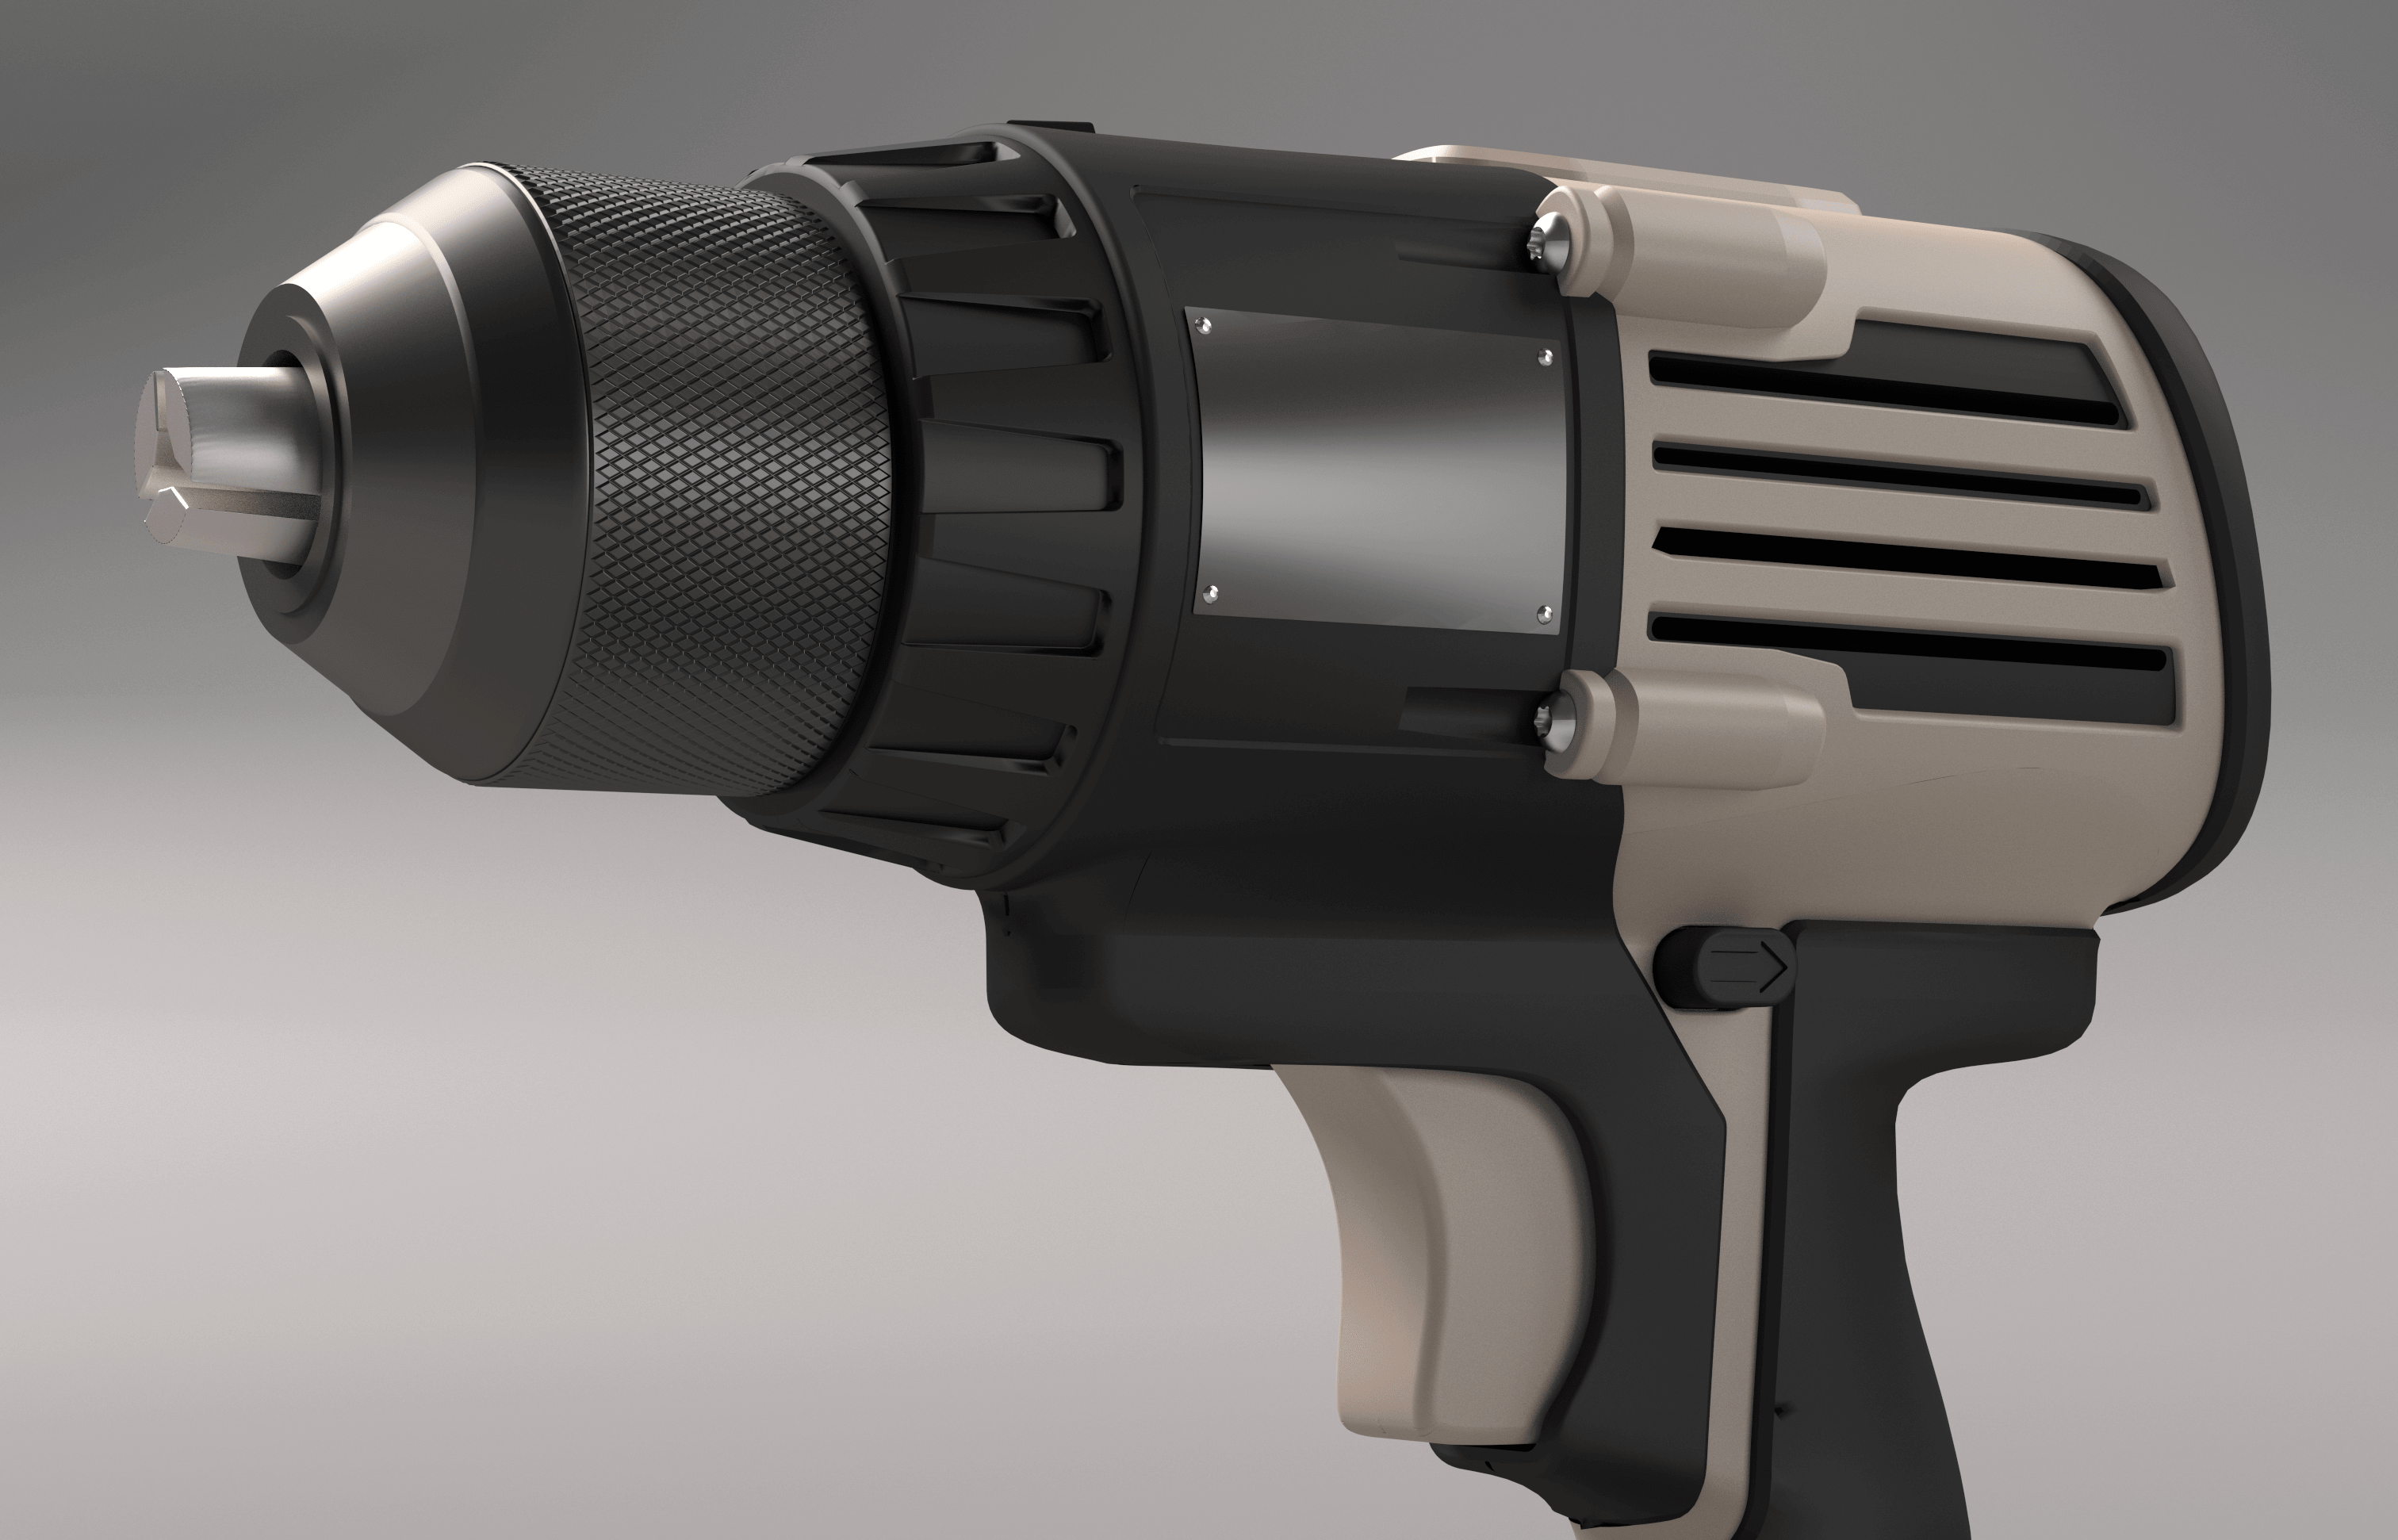
Cordless Drill Concept
This project was one I did mostly for fun. I wanted to learn how to create digital sketches in Photoshop, and how to create very organic shapes in Rhino.
I generated several initial concepts through sketching, and then picked one that I wanted to create using 3D modeling.